

The complete guide
How to Choose and Use an Air Dry Clay Kit
The problem with most craft kits
Plenty of craft kits look great in the box and fall apart in practice. Half the colors run out in the first hour. The tools are flimsy. Something needs baking, which means an adult has to stop what they are doing and supervise an oven. Or the material dries into a crumbly mess within a week because there is nowhere sensible to store it.
Air dry clay sidesteps most of that. It is a material children can pick up on their own, work with for twenty minutes or two hours, and then walk away from. The model hardens by itself. Nobody has to supervise heat. Nobody has to buy a kiln. And a well-packed kit with resealable bags will still be usable months after the first session.
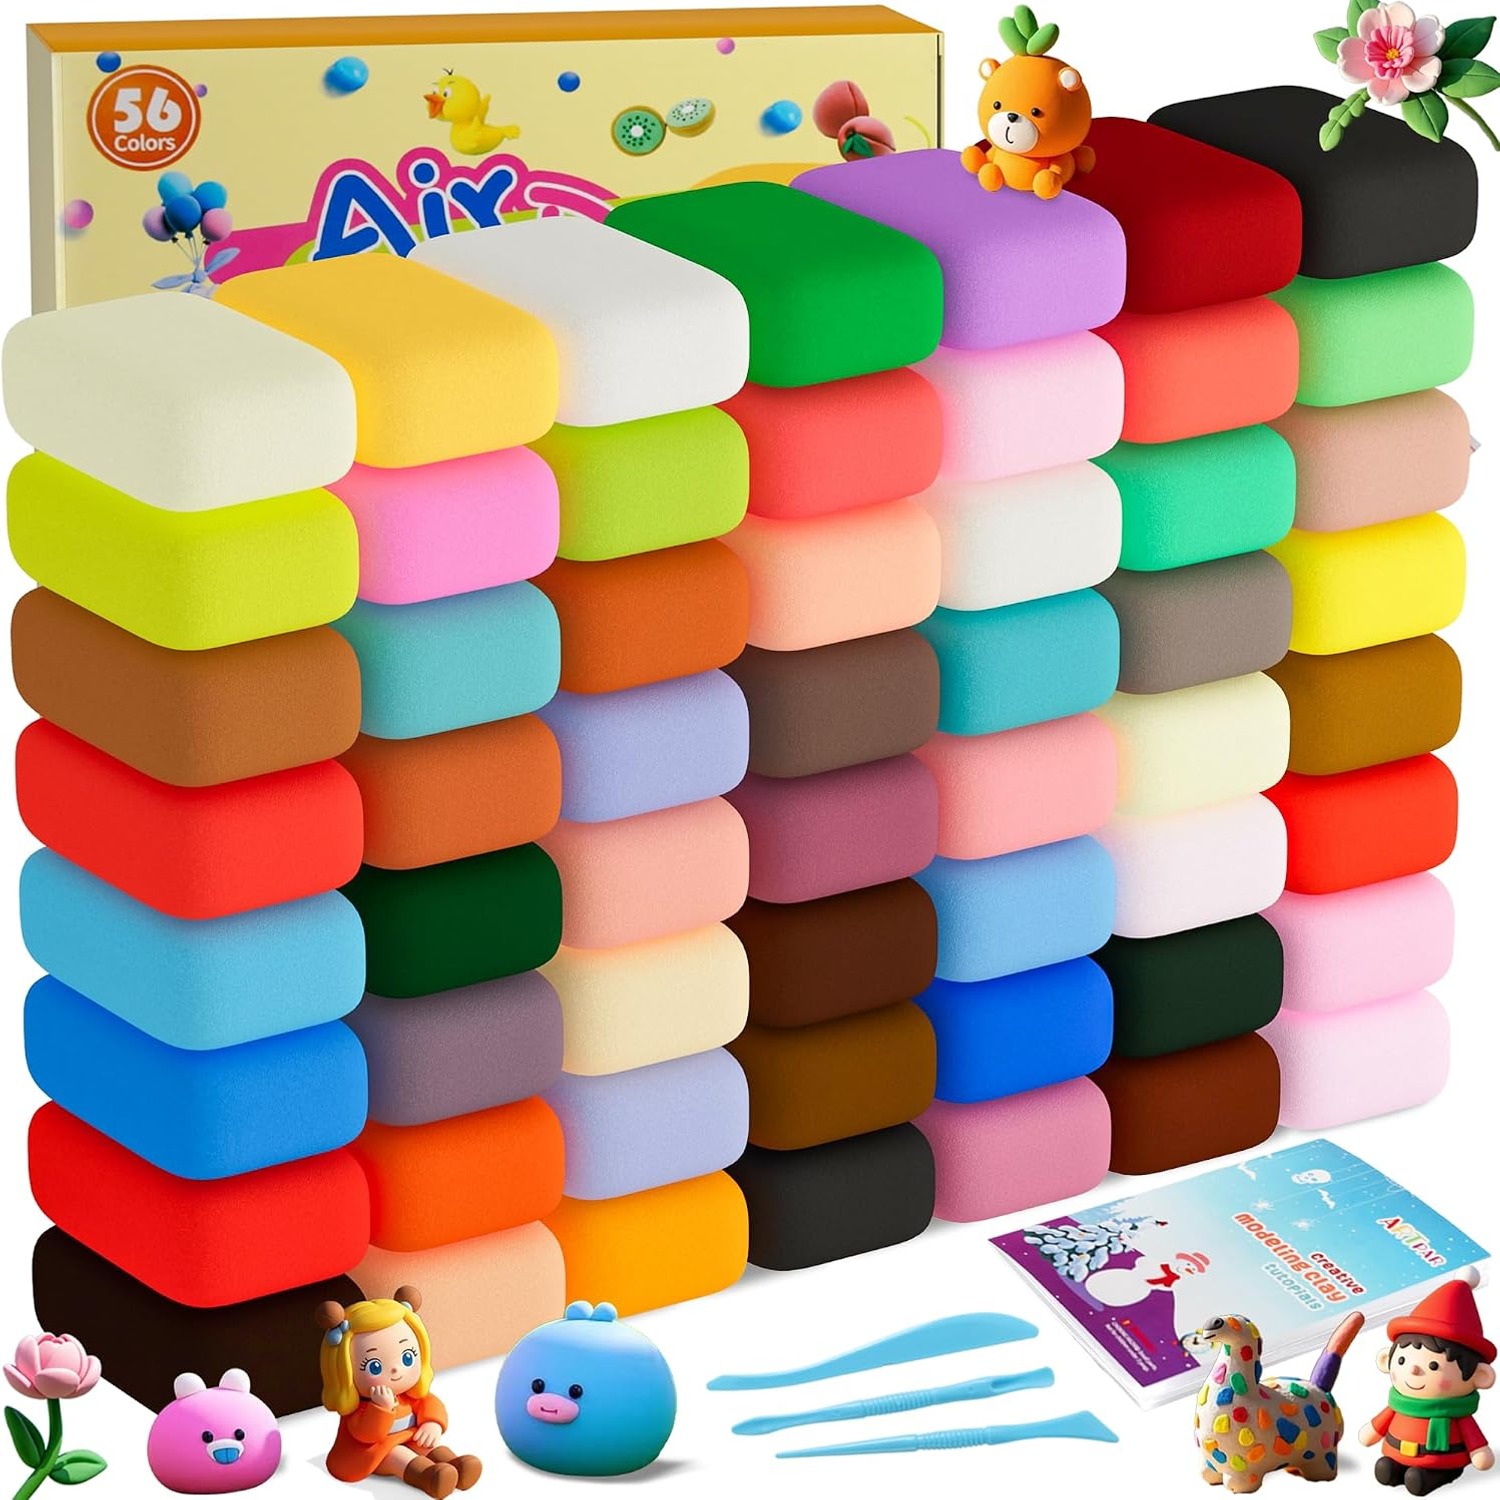
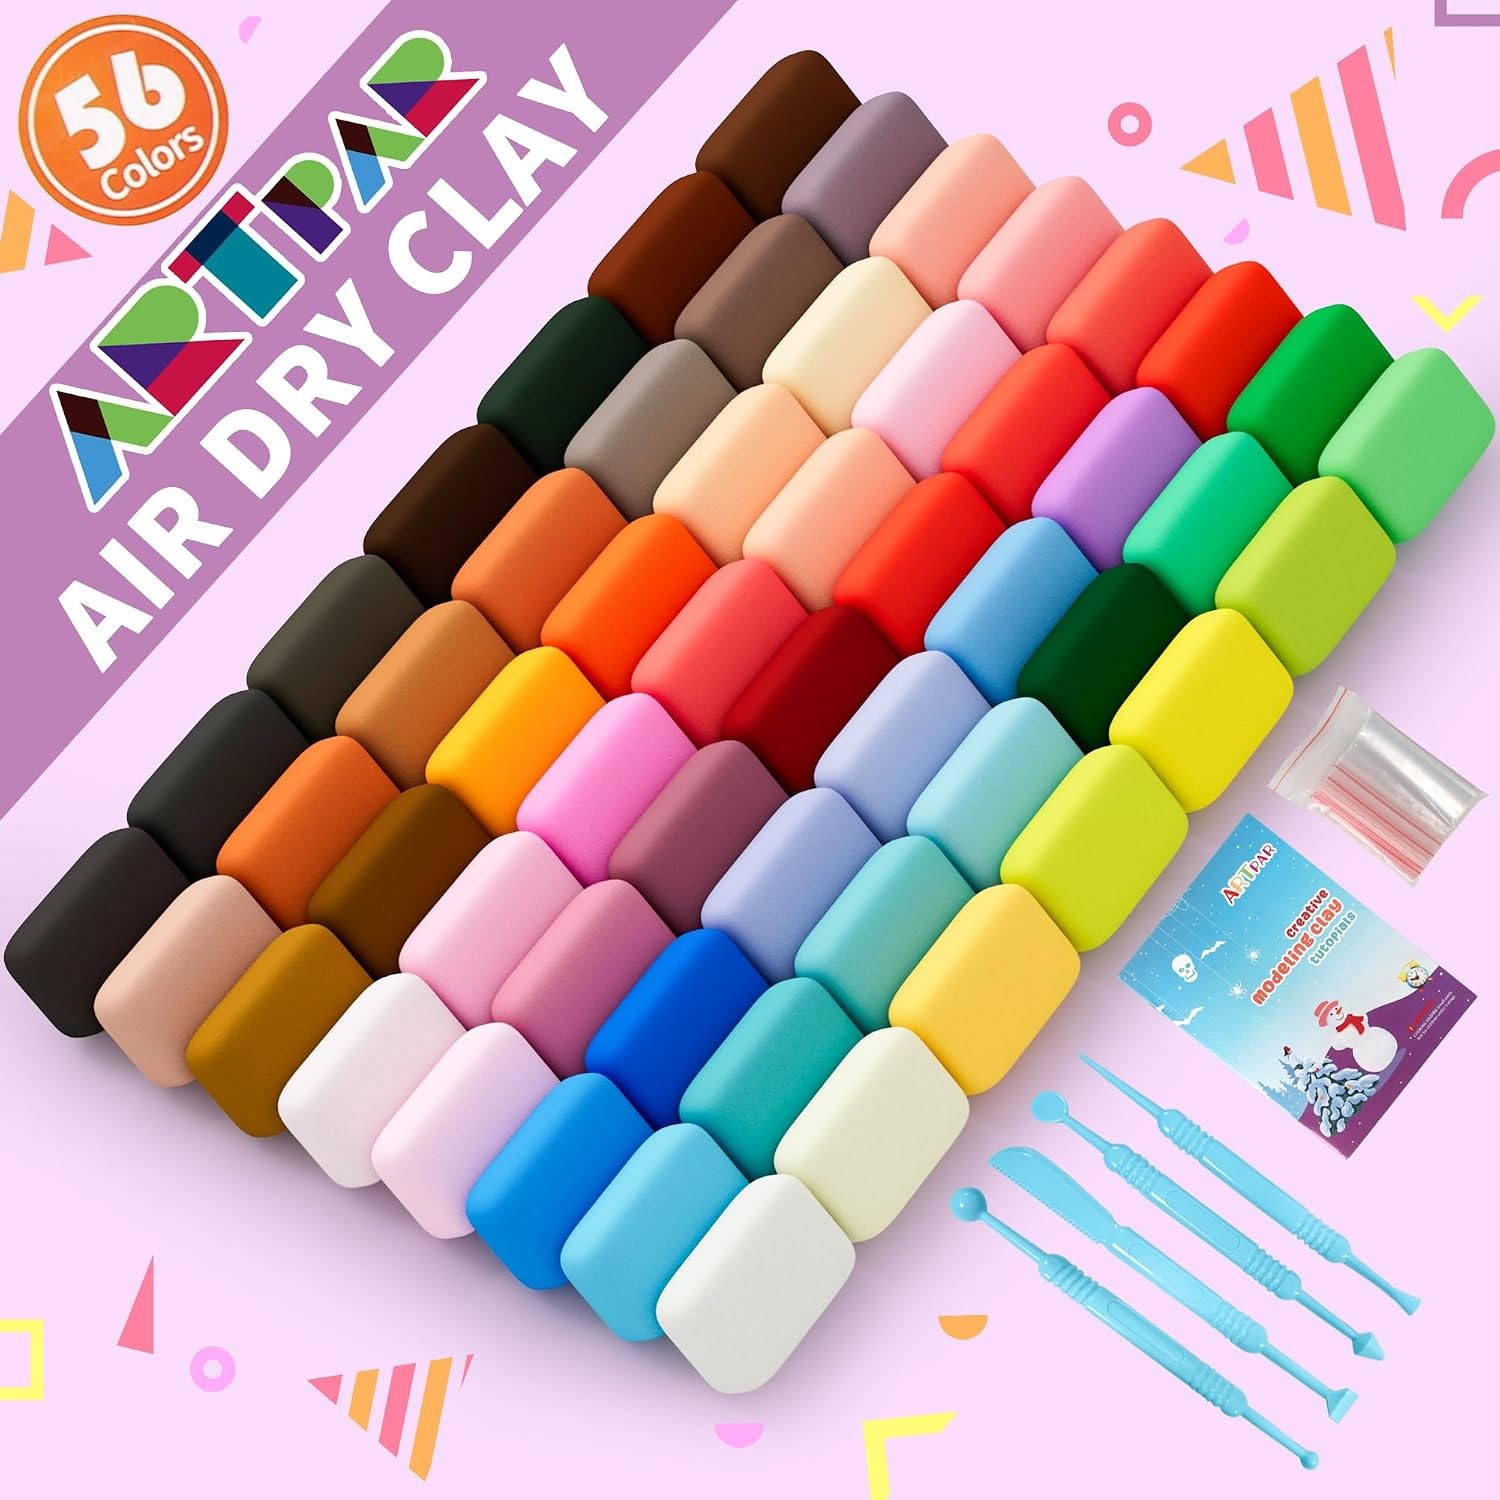
This particular kit holds 56 colors, 4 sculpting tools, an instruction booklet and extra sealed bags. That combination matters, and it is worth understanding why before you buy anything in this category.
How air dry clay actually works
Air dry clay stays soft because it holds moisture. Once it is exposed to open air, that moisture evaporates and the clay firms up. There is no chemical reaction to trigger, no heat required, no set point where you must stop working. You just leave the piece alone and time does the rest.
Thickness is the main thing that affects how long it takes. A flat pendant two or three millimeters thick will set much faster than a chunky animal the size of a fist. Room temperature and airflow make a difference too. A warm, breezy room speeds things up, while a cold closet slows everything down.
The same mechanism explains why storage matters so much. Clay left out on the table will harden whether you meant it to or not. Clay sealed in a bag will stay soft indefinitely. This is why the included sealed bags are more useful than they sound. Get into the habit of bagging leftovers before anyone leaves the table and a single kit can stretch across an entire school holiday.
One more thing worth knowing. Most air dry clays shrink a little as they dry. If you are joining two pieces, join them while both are soft rather than gluing a dry part onto a wet one. Score the surfaces where they meet with one of the tools and press firmly. That gives you a join that holds.
Who this kit suits
The listed age range is 3 and up, and it covers more ground than that single number suggests.
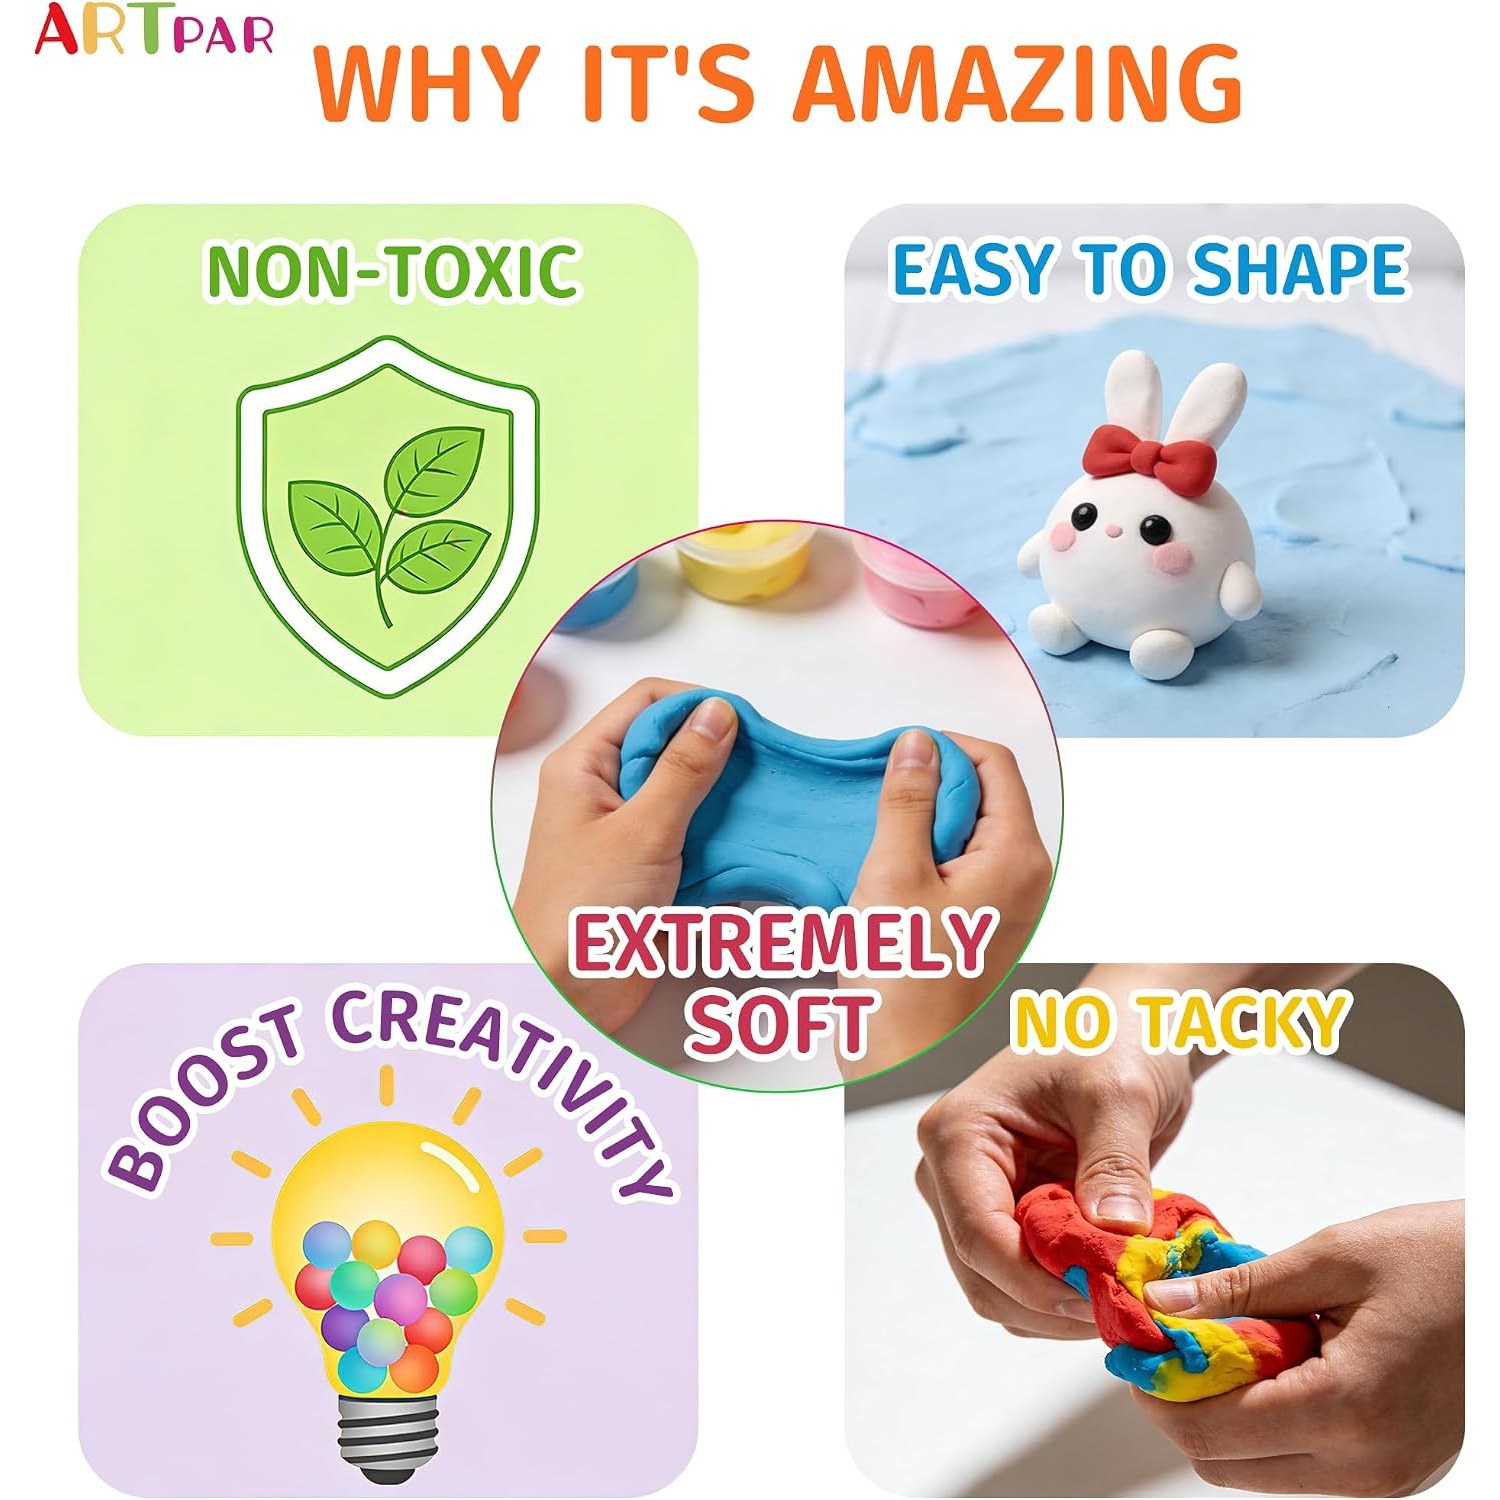
A three to five-year-old will mostly squeeze, roll, flatten and poke. That is exactly what they should be doing. The soft, ultra-light texture means they are not fighting the material, so their hands do not tire out after five minutes. Rolling a snake and pressing it into a circle is a genuine win at that age, and the color range means they can make it any shade they want.
From around six to twelve, children start wanting their models to look like something. This is where the 4 sculpting tools earn their place. A smoothed join, a scored texture, a clean edge: these are the details that turn a lump into a recognizable frog. Color mixing starts to interest them too, and with 56 blocks to work from there is real scope for experimenting. Many people looking for the best modeling clay set land in this age bracket.
Teenagers and adults use it differently again. Small figures, miniature food, charms, model accessories. The light weight and fine detail capability suit that kind of work well.
Then there are the adults buying it for reasons other than the art. Rainy days. Long car-free weekends. Something to put on the table that is not a screen. Teachers running a group activity who do not want to deal with equipment. Air dry clay is quiet, tidy and self-contained, which is why it keeps showing up in classrooms.
Choosing between clay types
If you are weighing this up against other options, here is the honest comparison.
Playdough is cheaper and completely reusable, but nothing you make survives. That is fine for preschoolers who care about the squeezing and not the result. It stops being enough the moment a child wants to keep what they made.
Polymer clay is harder-wearing and takes very fine detail, but it needs oven baking at a controlled temperature. That puts an adult in the loop for every finished piece and rules out most classroom use.
Pottery clay is the real thing, and it needs a kiln. Lovely material, wrong tool for a kitchen table.
Air dry clay lands between them. You keep what you make, you need no equipment, and the barrier to starting is close to zero. The trade-off is that finished pieces are decorative rather than tough. A dried model will sit happily on a shelf but will not survive being dropped on tiles or used as a toy in the sandpit. Knowing that upfront saves disappointment later.
Getting good results
A few habits make a noticeable difference.
Work on a smooth, clean surface. A silicone mat, a plastic placemat or even a sheet of baking paper all work. The clay is described as non-sticky, but a defined work area keeps crumbs off the floor and makes cleanup a thirty-second job.
Wash hands between dark and light colors. Dark pigment transfers easily, and a white block that has picked up navy fingerprints is hard to rescue. A damp cloth beside the table handles it.
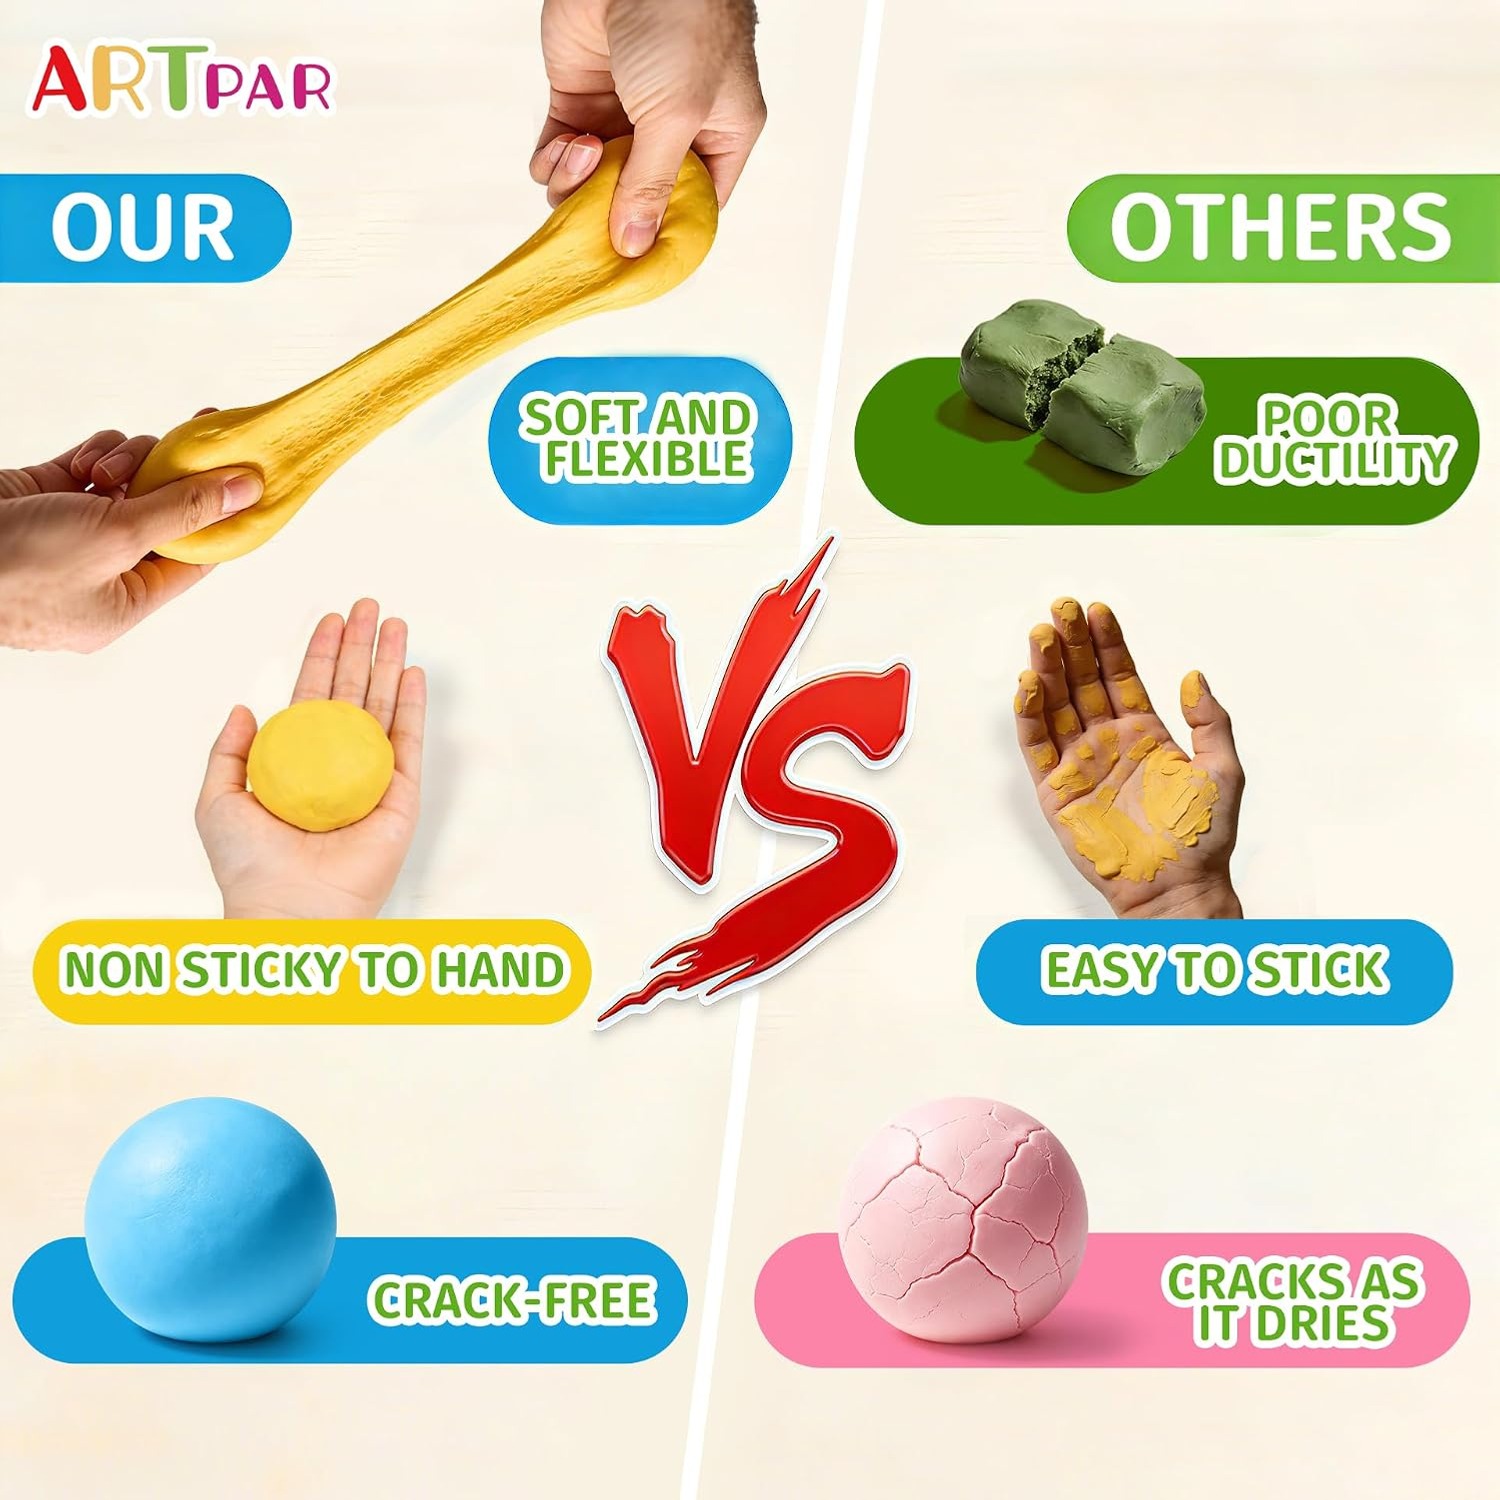
Keep wall thickness reasonably even. Pieces that are very thick in one spot and very thin in another dry at different rates, and that uneven drying is what causes cracks. Hollowing out a thick body slightly helps.
Plan holes before drying. If you want to hang something, push the hole through while the clay is soft. Drilling a dry piece usually ends in a snapped model.
Let pieces dry undisturbed and away from direct heat. A sunny windowsill or a radiator seems helpful but tends to dry the outside faster than the inside, which cracks the surface. Open air at room temperature is slower and better.
Care and storage
Reseal every unused color at the end of a session. Use the original wrapper where it is intact, or one of the extra sealed bags supplied with the kit. Squeeze the air out before closing.
Store the whole box somewhere cool and dry. A closet is better than a windowsill. Avoid anywhere that gets hot during the day, since heat pulls moisture out of the clay even through packaging.
Wipe the sculpting tools after use so dried clay does not build up on the edges. A rinse under the tap and a towel dry is enough.
Dried models need no particular care beyond keeping them out of water and off the floor. Dust them with a soft brush if they sit out on display.
Keep the kit out of reach of children under three. The age rating is there for good reason.
The short version
This is a 56-color air dry clay kit with 4 sculpting tools, an instruction booklet and extra sealed bags, rated for ages 3 and up. The clay is soft, light and non-sticky, and it hardens in open air with no baking. The box measures 8.9 x 7.4 x 3.8 inches, the item weight is 1.8 pounds, and a one-year warranty is listed.
It suits a household that wants a craft activity a child can run themselves, a classroom that needs a no-equipment group project, or anyone looking for the best air dry clay kit for beginners who would rather not deal with an oven. Finished pieces are keepsakes, not toys. Seal the leftovers and one kit goes a very long way.