

The complete guide
How to Choose a Science Robotics Kit That Kids Actually Finish
The problem with most "educational" toys
Walk down any toy aisle and you will find a wall of boxes promising to teach engineering. Plenty of them do nothing of the sort. The build takes twenty minutes, the result does not move, and the whole thing ends up in a closet by the weekend.
The gap is usually in two places. First, there is only one model, so once it is built the toy is finished. Second, the finished model does not do anything, so there is no reward for the effort that went in. Kids are good at sensing when a task had no point.
A science robotics kit solves both of those problems if it is put together properly. Multiple builds mean the box keeps giving. A motor means the thing you spent an hour on actually runs when you flick a switch. That is a small moment, but it is the one children remember, and it is why they come back for the next build.
How this kit works
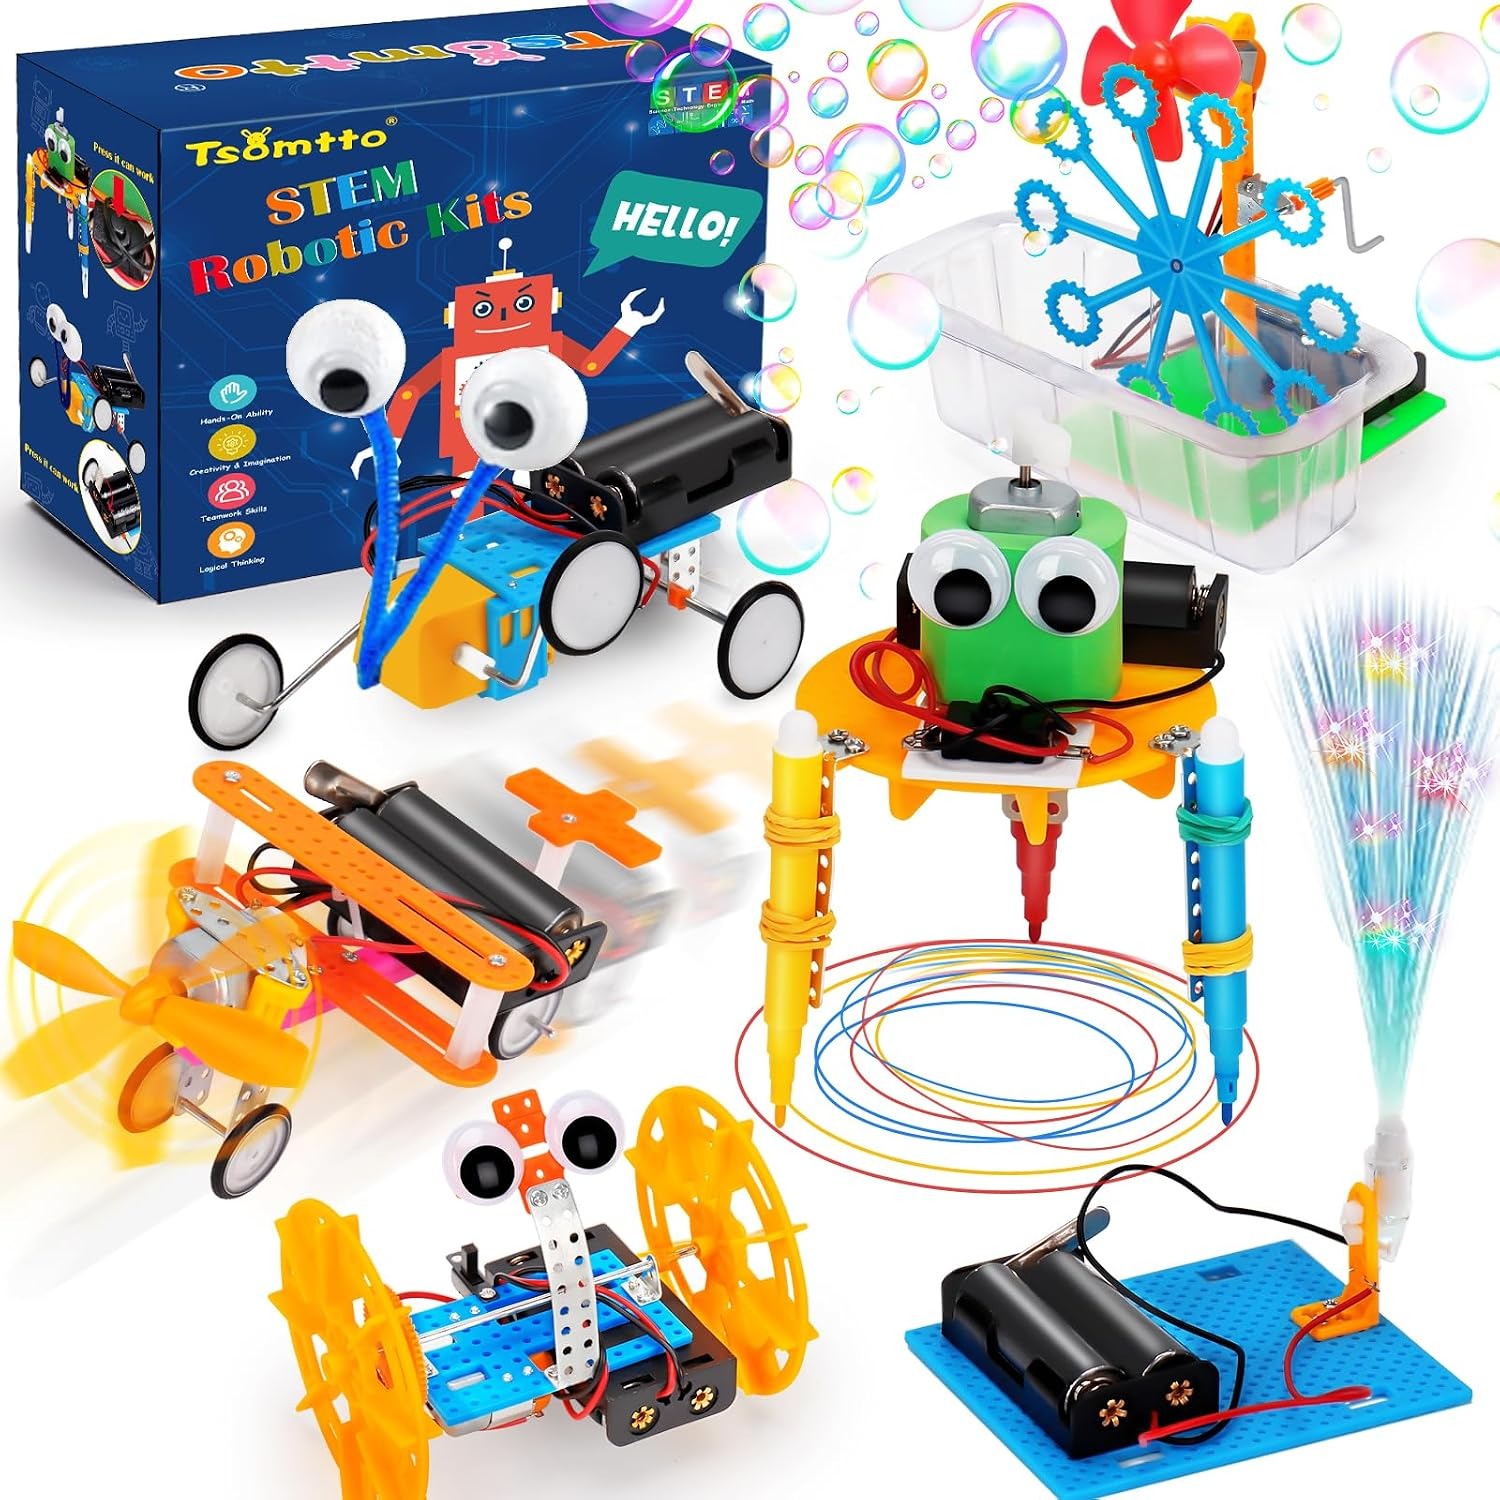
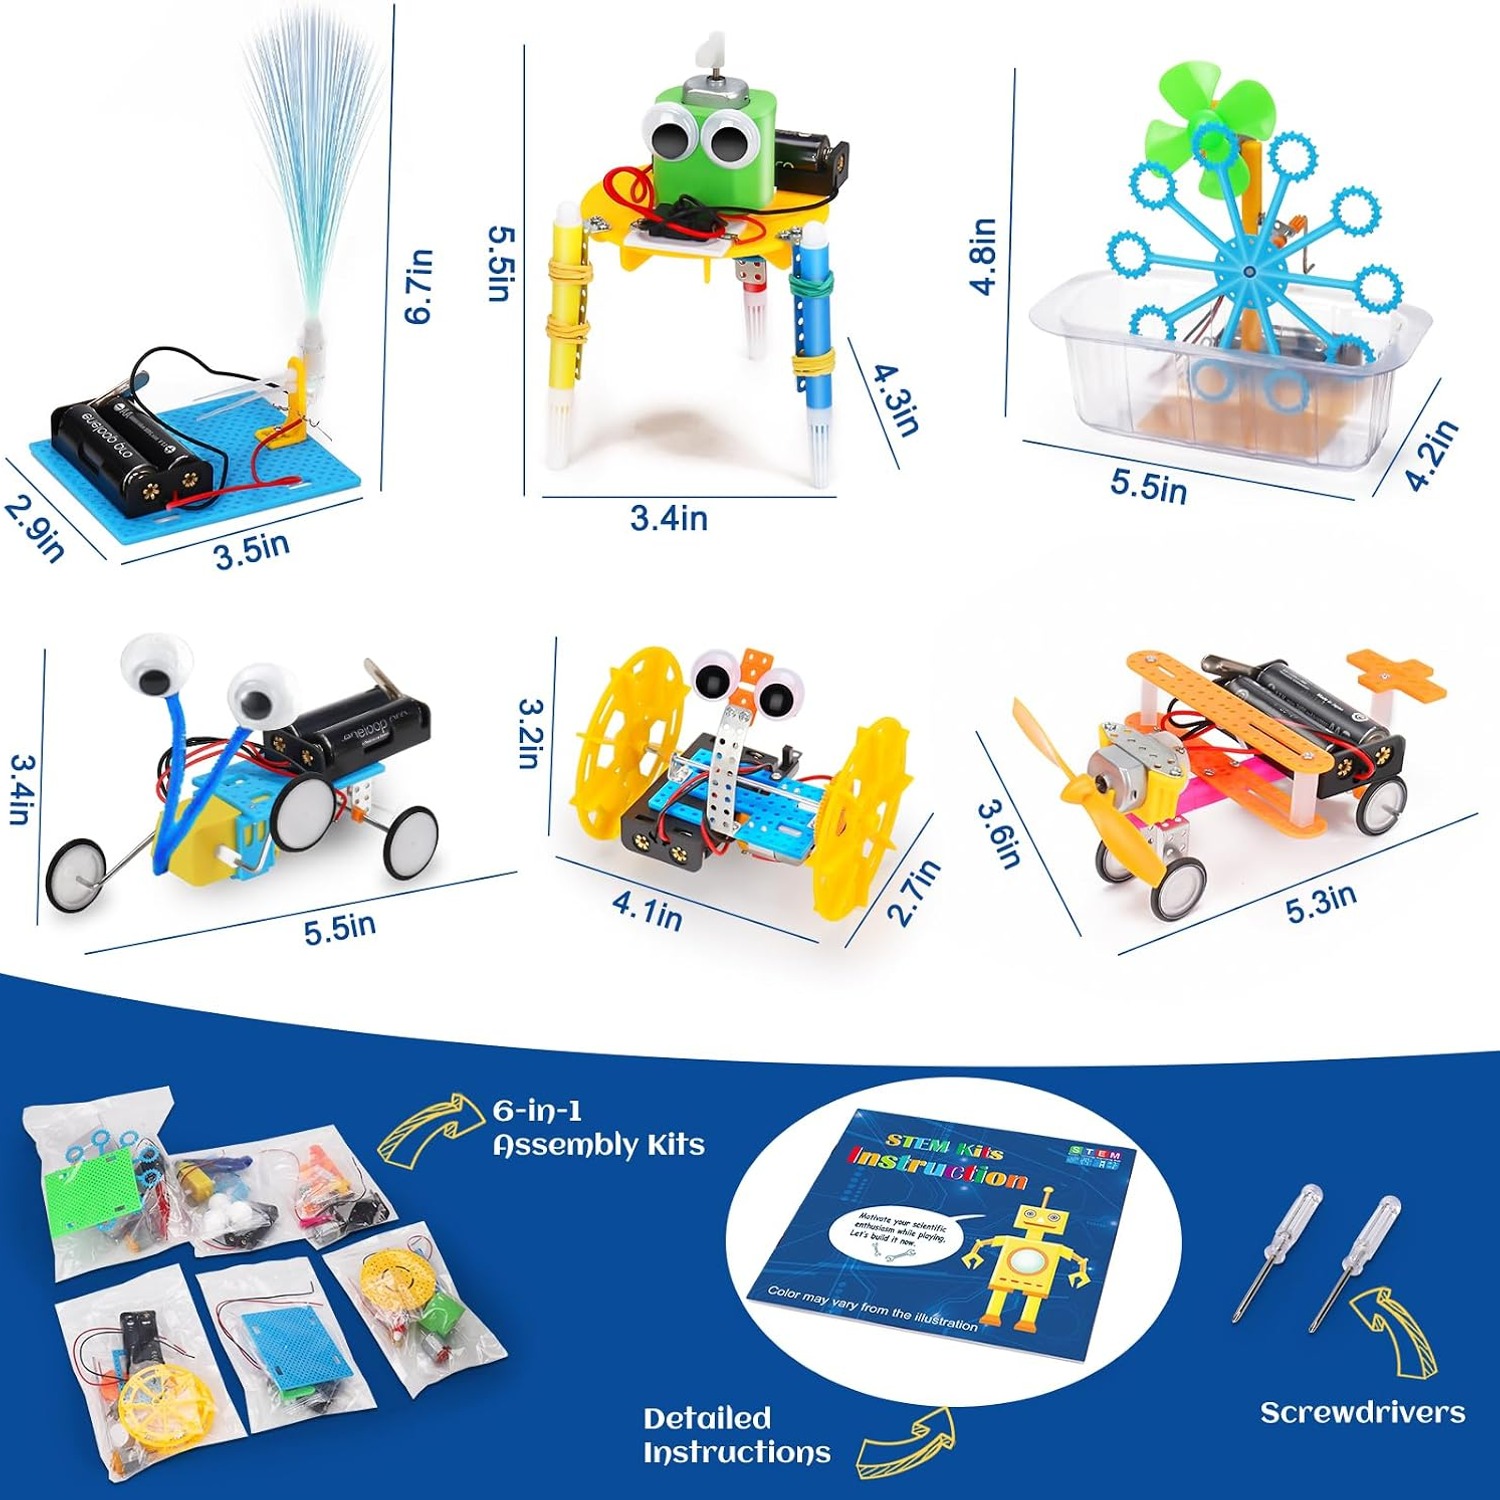
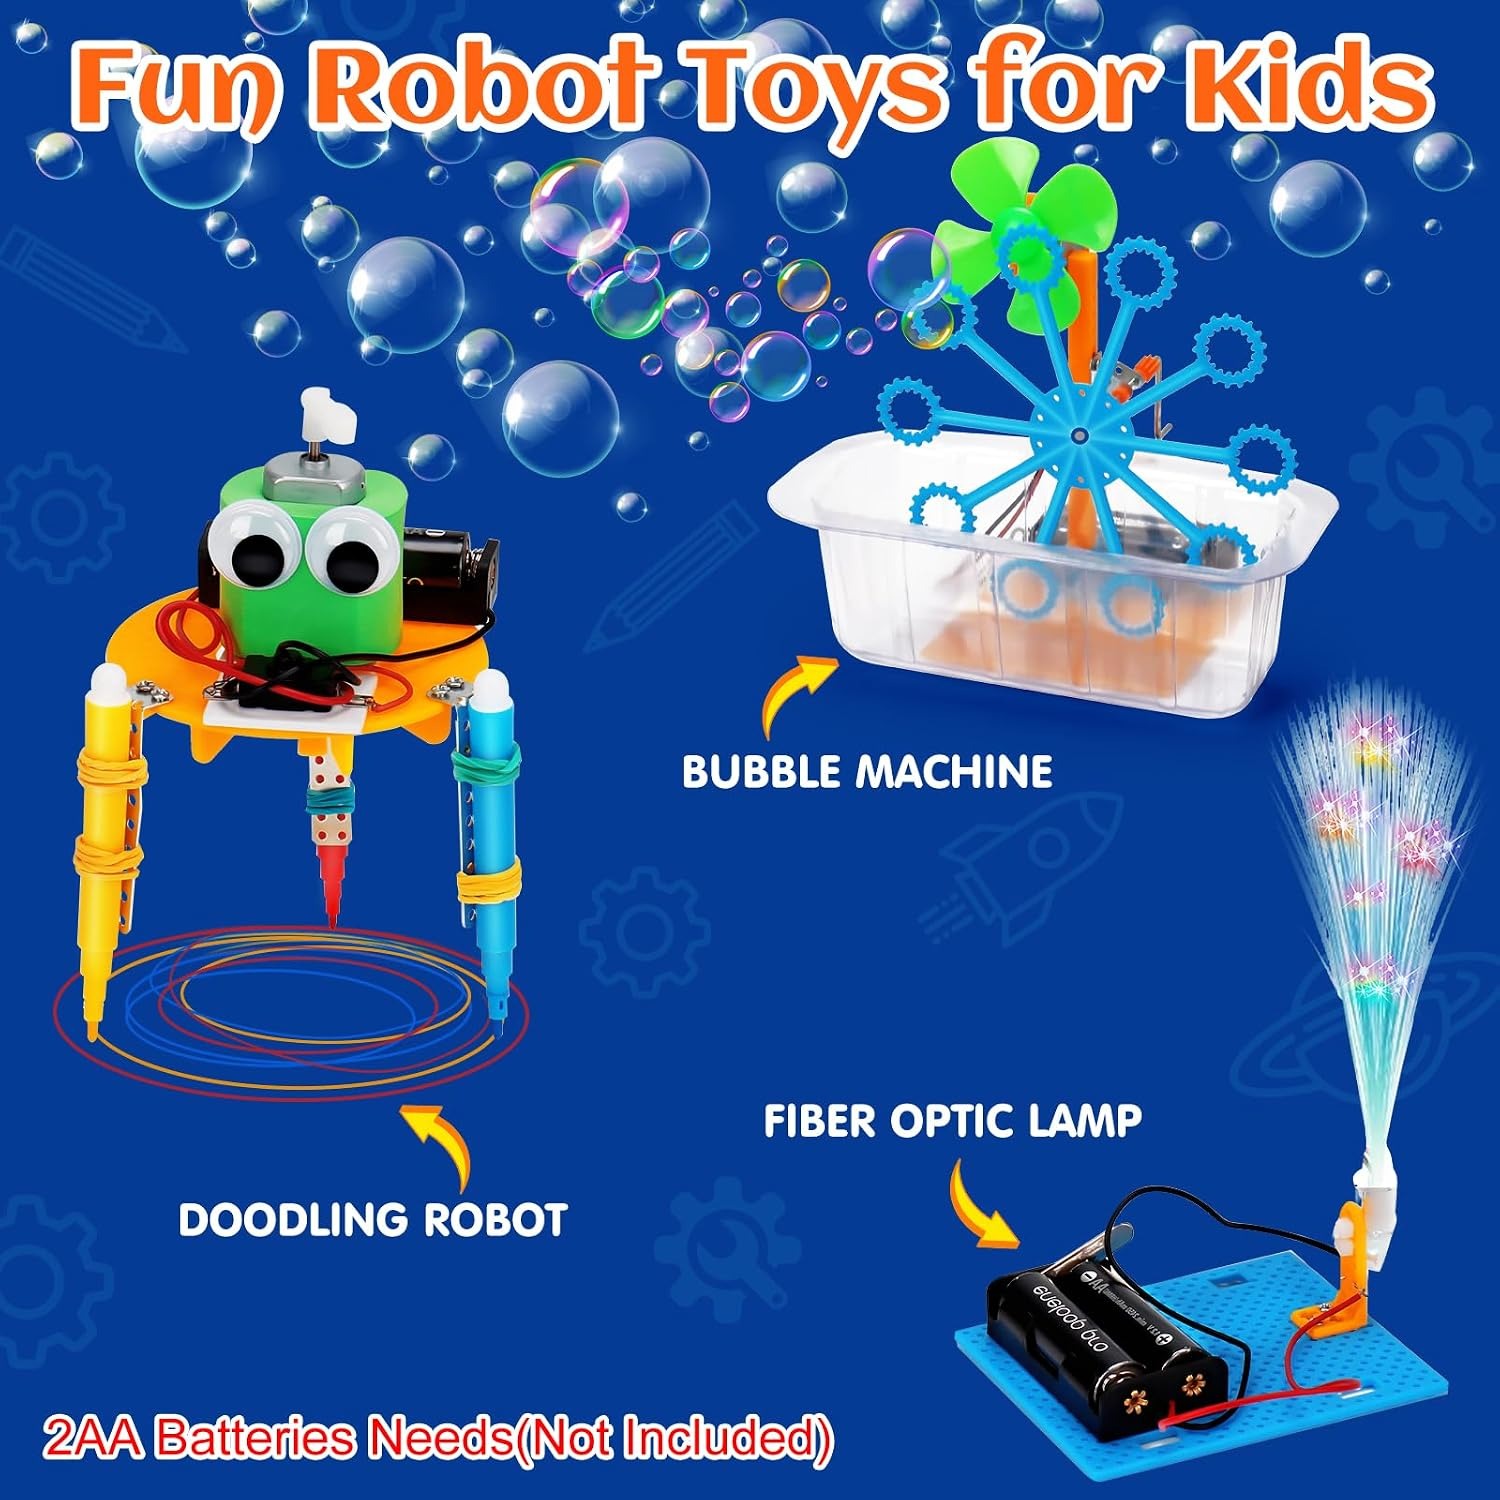
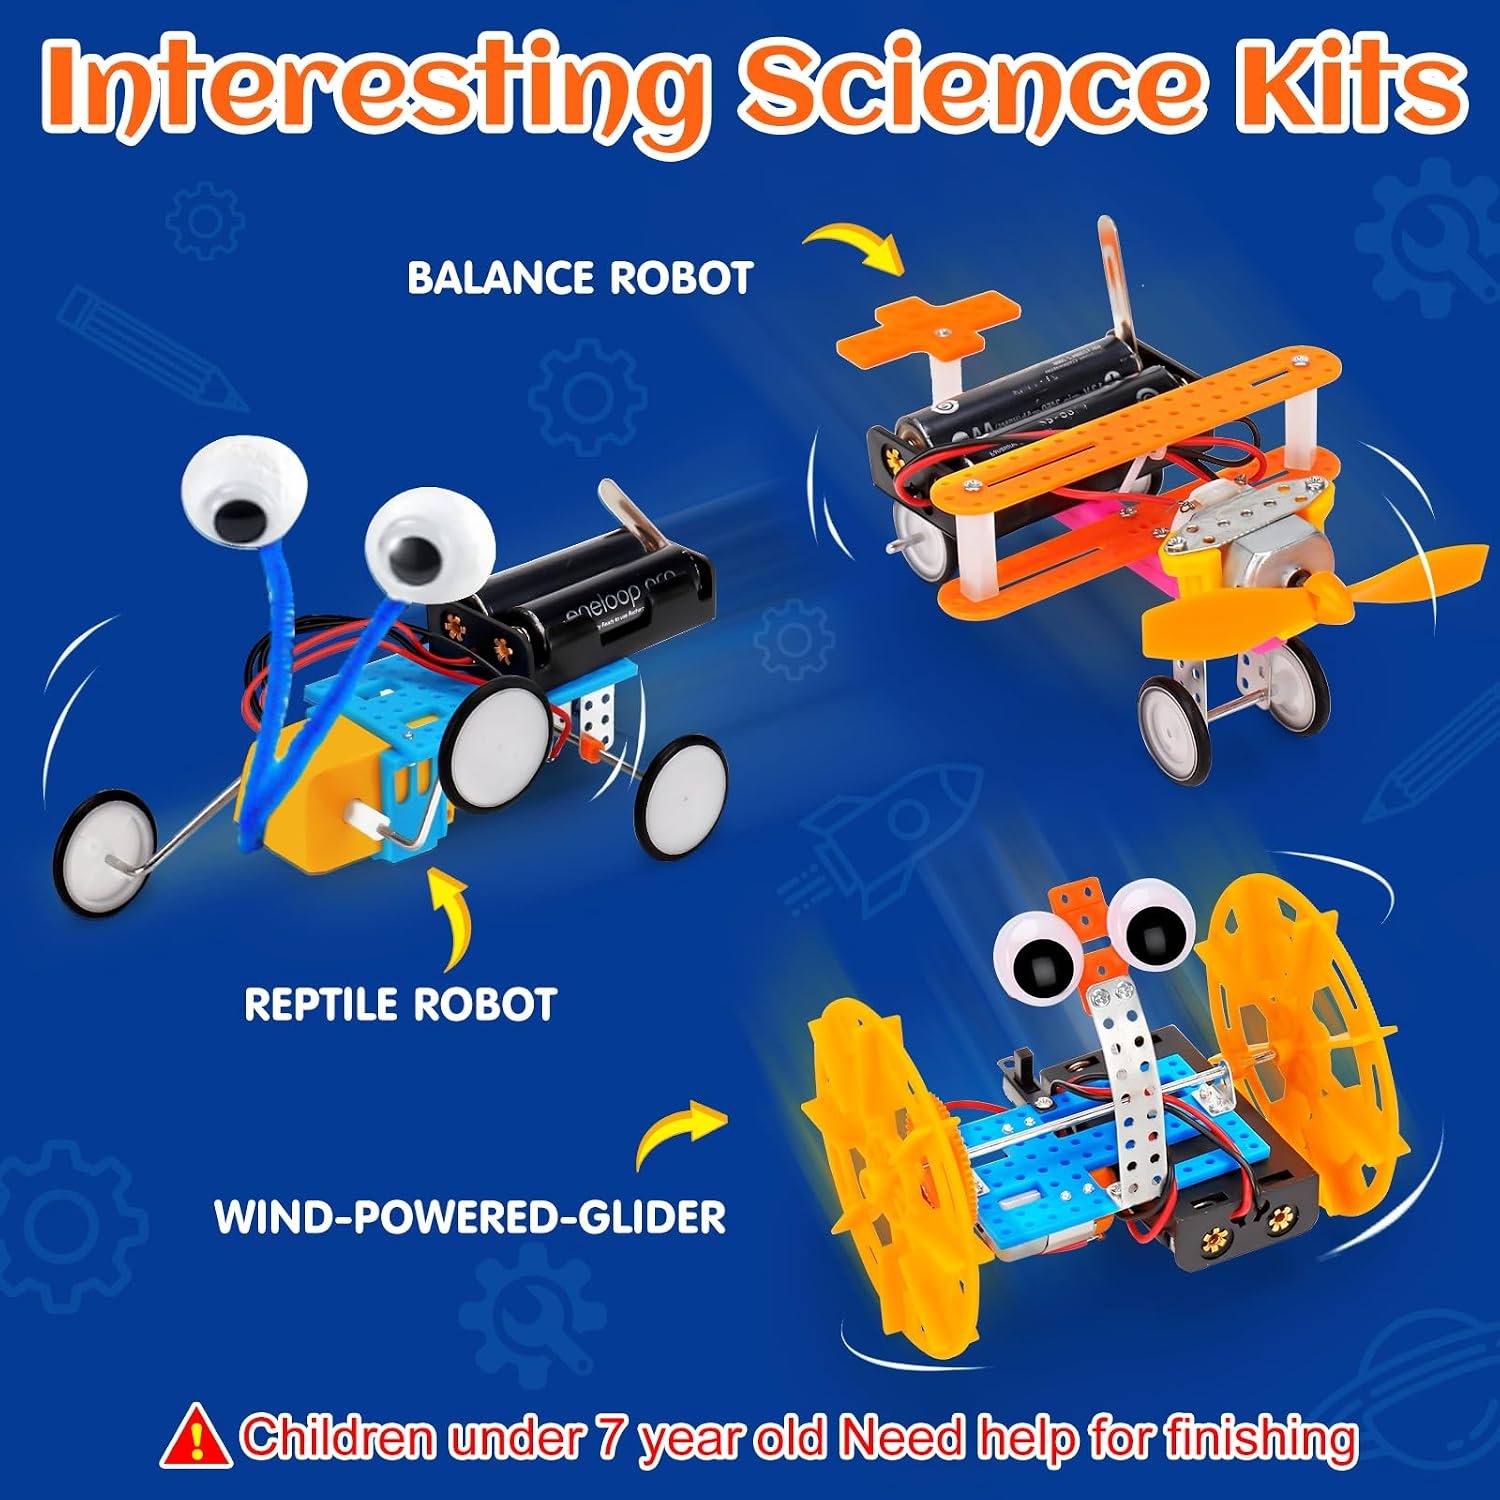
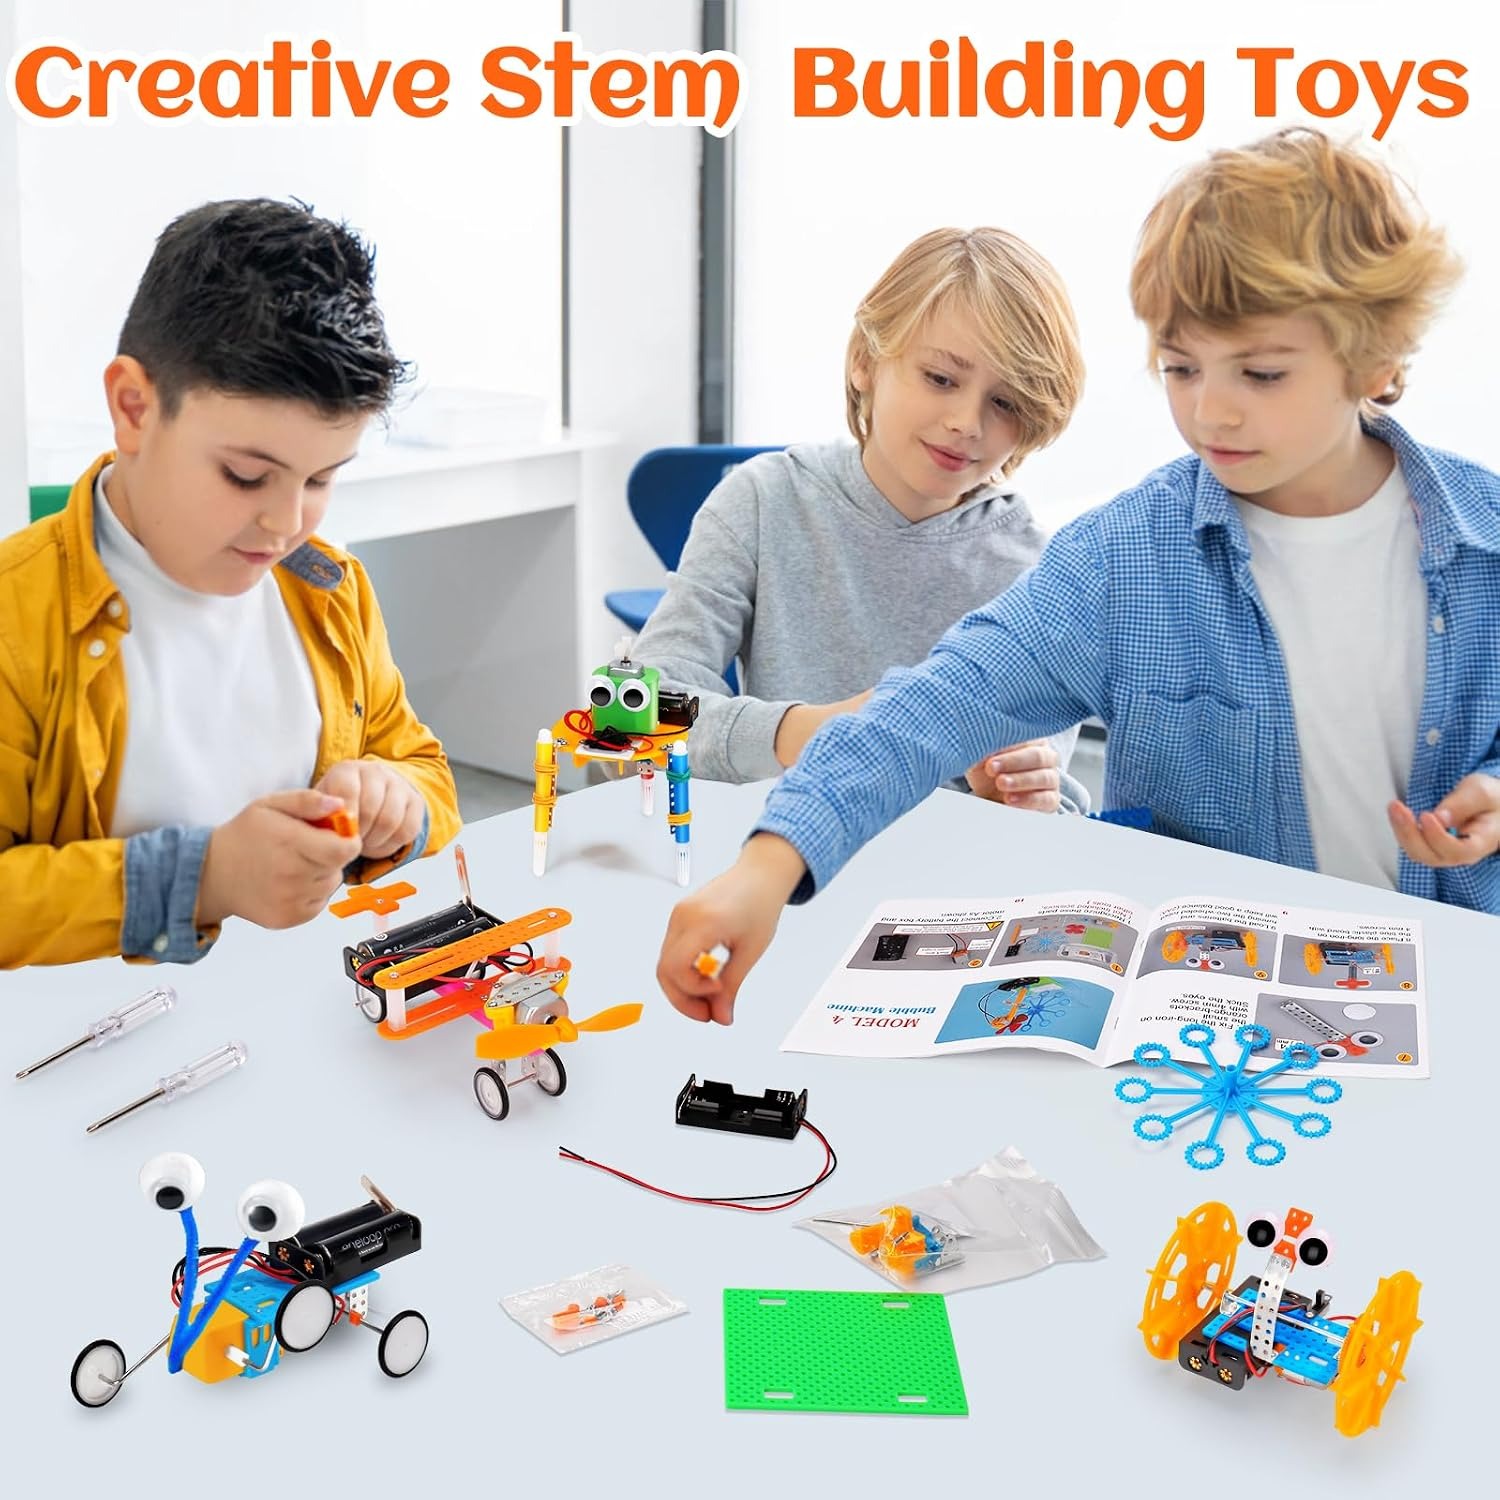
This set is a 6 pack science experiments robot building kit. Six separate models, each with its own parts and its own section of the instruction manual. You do not build one giant project. You build six smaller ones, in whatever order appeals.
Assembly is mechanical. Plastic parts, screws, and a small screwdriver that comes in the box. There is no soldering, no app, no computer. A child reads a step, finds the part, fits it, turns a screw, and moves to the next step. The models are motorised, so once the final part is in place the build does something.
That simplicity is a feature, not a limitation. A lot of first-time builders get put off by kits that need a laptop before anything happens. Here, the whole loop from opening the bag to seeing the model run fits inside a single afternoon.
The listed educational objectives are broad: concentration, construction skills, creative skills, hand-eye coordination, logical thinking, motor skills, and problem solving. Those sound like marketing until you watch a child do it. Holding a screw while turning a driver is genuinely fiddly the first few times. Working out which of two near-identical pieces goes in a slot takes real thought. By the third model, most kids are visibly faster and less frustrated.
Who it suits
The manufacturer recommended age runs from 36 months to 12 years, which is a wide band, so it helps to think about where your child sits in it.
For a preschooler at the bottom of that range, this is a shared activity. An adult does the screwing and the manual reading, and the child hands over parts, chooses what to build next, and presses the switch. That is still worthwhile. Handling parts and watching a mechanism come together builds familiarity long before independent assembly is realistic.
Around six or seven, a child can usually handle parts of a build with an adult nearby. Expect to step in for the trickier steps and for any point where the manual illustration is ambiguous.
From roughly eight up to twelve, most children can work through a model alone once they have done one with help. This is the sweet spot. They get the satisfaction of having done it themselves, and you get a quiet half hour.
It also works for children who like taking things apart. If your kid has already dismantled a flashlight or a remote control, a build kit gives that instinct somewhere useful to go.
What to look for when comparing kits
If you are weighing this against other options, a few things matter more than the pictures on the box.
Count the builds. A kit with six models gives six sessions. A kit with one gives one. Price per build is a more honest comparison than sticker price.
Check whether tools are included. A kit that needs a screwdriver you do not own turns into a trip to the shops before anyone builds anything. This set includes one.
Think about whether you want mechanical or electronic. A mechanical kit with a motor, like this one, delivers a working result fast. A circuits kit or a programmable kit teaches different things and usually takes longer to get going. Neither is better in the abstract. It depends on the child in front of you.
Consider the manual. Step-by-step printed instructions are a skill-building exercise in themselves. Kids raised on video tutorials often struggle with a paper manual at first, and then get noticeably better at it. That improvement is worth something.
Finally, be realistic about storage. Any kit with small plastic parts needs somewhere to live between sessions, or half the screws end up under the sofa.
Getting the most out of it
Do not try all six builds in one day. The temptation is strong, especially on a birthday, but enthusiasm runs out and the last two models get rushed. One build per sitting is plenty.
Build on a table, not the floor. Small parts and carpet are a bad combination, and a hard surface makes screwing easier.
Keep a shallow tray or a lid nearby for loose pieces. It sounds trivial. It is the single thing that most often decides whether a kit survives to its sixth model.
Let them get it wrong. If a part goes on backwards and the model will not move, the fix is where the learning happens. Jumping in to correct it immediately skips the useful bit. Give it a minute before offering help.
Do the first one together. Even with an older child, working through model one side by side gives you a feel for the difficulty and gives them confidence to go solo on the rest.
Looking after the kit
Keep everything dry. Store the parts in the original box or a lidded container, and put screws in a separate small pot or bag so they do not scatter.
Clean finished models with a slightly damp cloth and dry them before packing away. Do not soak anything, especially near the motor housing, and skip solvents or strong cleaners on the plastic.
If a model is going to sit assembled on a shelf for months, take the batteries out. Leaving cells in an unused toy is how battery leaks start.
Check the screws occasionally on any model that gets handled a lot. A quick quarter turn with the included screwdriver keeps things tight.
A note on safety
There are small parts and screws here, plus a screwdriver. That means it is not an activity to leave running in a room with a preschooler who still puts things in their mouth. Build at a table, pack away between sessions, and keep the screwdriver somewhere a very young child cannot reach.
Supervision level should match the age. The lower end of the recommended range assumes an adult is doing the hands-on work.
The short version
This is a six-model plastic build kit with a screwdriver and printed instructions included, aimed at children from 36 months to 12 years. The models are motorised, so each build ends with something that works.
The value sits in the number of builds. Six projects in one box means the toy lasts past the first afternoon, which is the point where most building sets fail. The skills on the list, concentration, construction, logical thinking, and hand-eye coordination, come from the act of doing it rather than from anything the box claims.
It suits a child who likes making things, a family that wants a shared project, or a classroom shelf that needs an activity that resets. If you are unsure where your child sits on the difficulty curve, start with one model together and judge from there.