

The complete guide
Rock Painting With Kids, A Practical Buyer's Guide
The problem with most craft kits
Craft kits have a habit of disappointing. The box looks great, then you open it and find three thimbles of paint, a brush with bristles like a toothbrush, and a sheet of card that falls apart. The activity lasts eleven minutes. The box goes in a closet and stays there.
Rock painting avoids most of that, and the reason is the surface. A stone is solid. It does not crease, tear or blow off the table. A child can hold it, turn it, paint one side, let it dry and paint the other. If the first attempt goes wrong, paint over it and start again. That forgiving quality is why rock painting keeps showing up in classrooms, holiday clubs and kitchen tables everywhere.
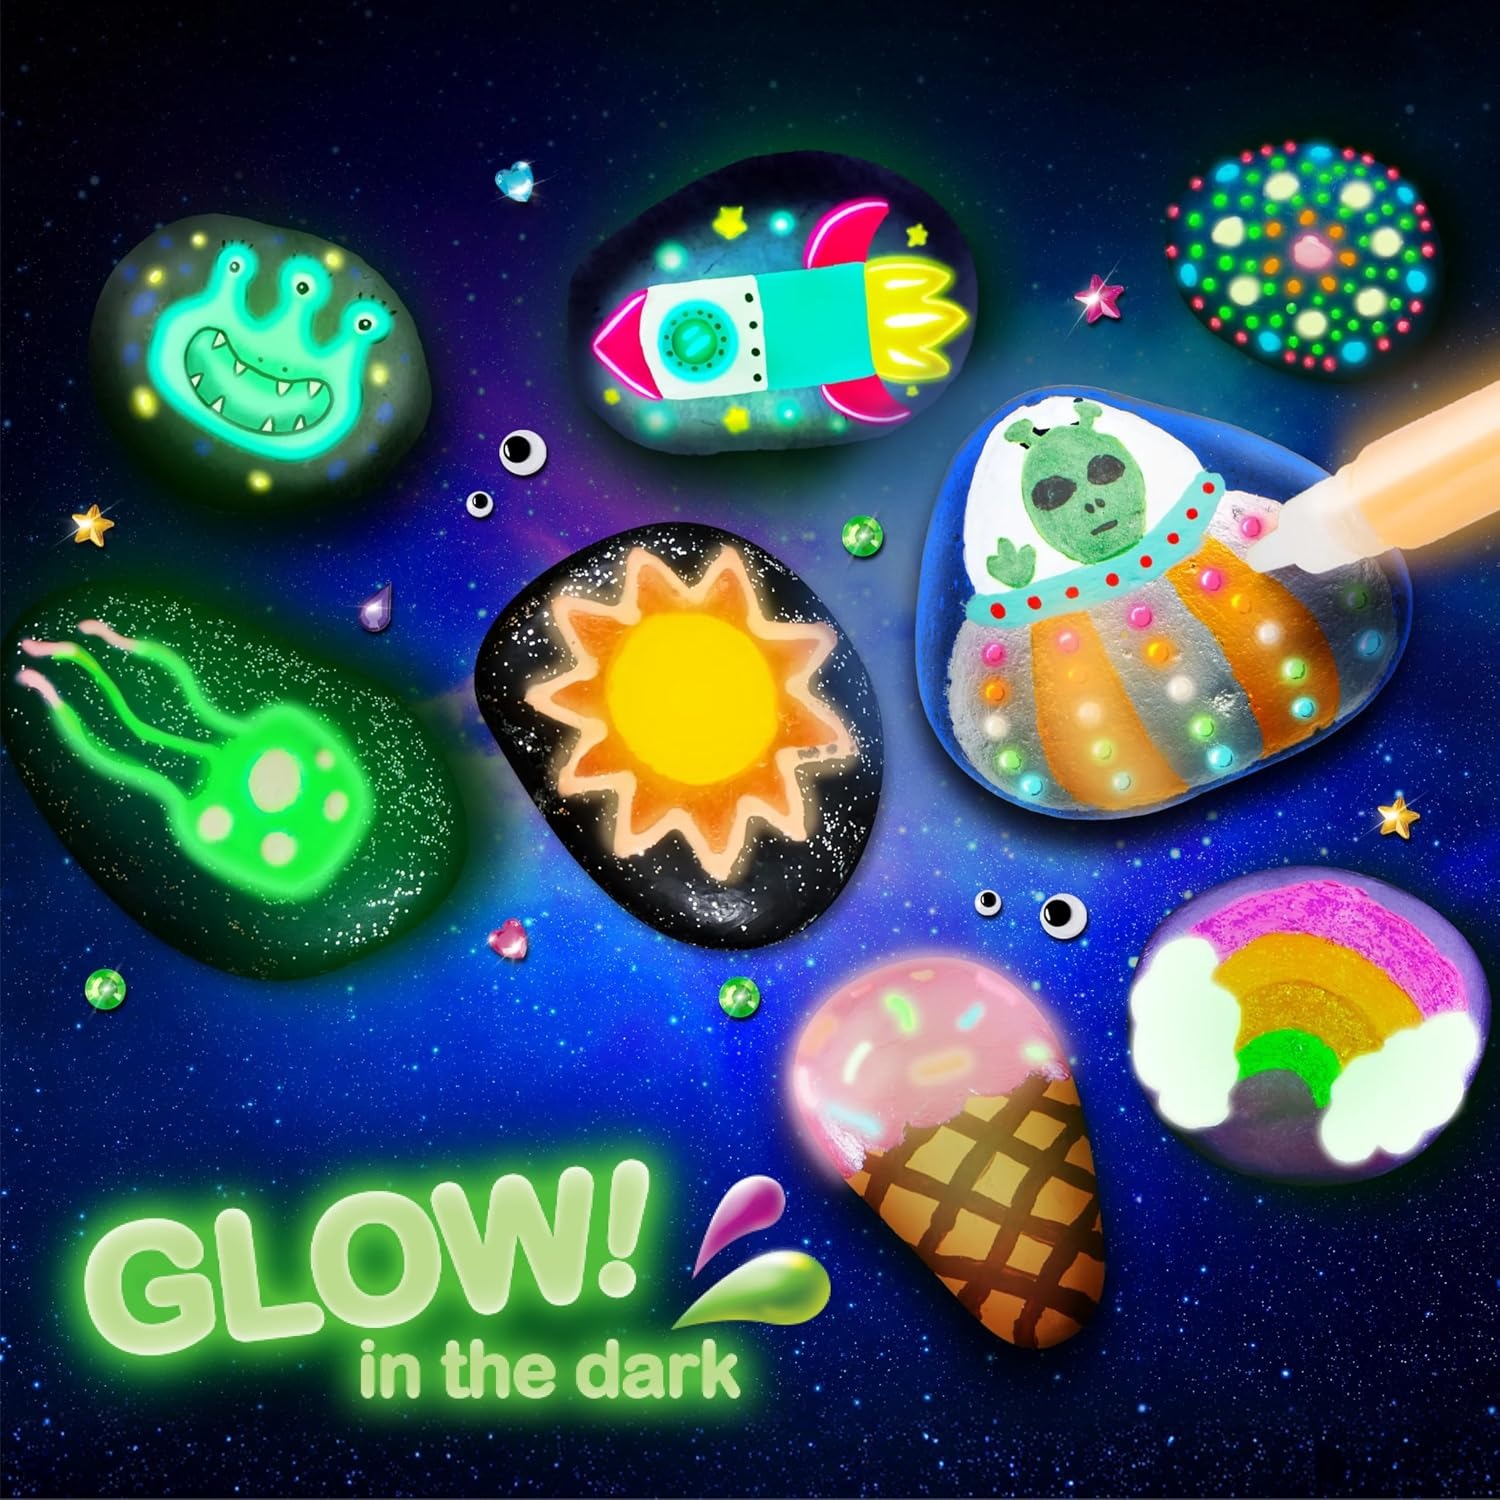
This kit adds the part children actually talk about afterwards. The glow paint. In daylight the finished rock just looks like a painted rock. Then the lights go off and the design appears. That moment is the hook, and it is also the reason the rocks get picked up again the next evening instead of being forgotten.
What is in the box
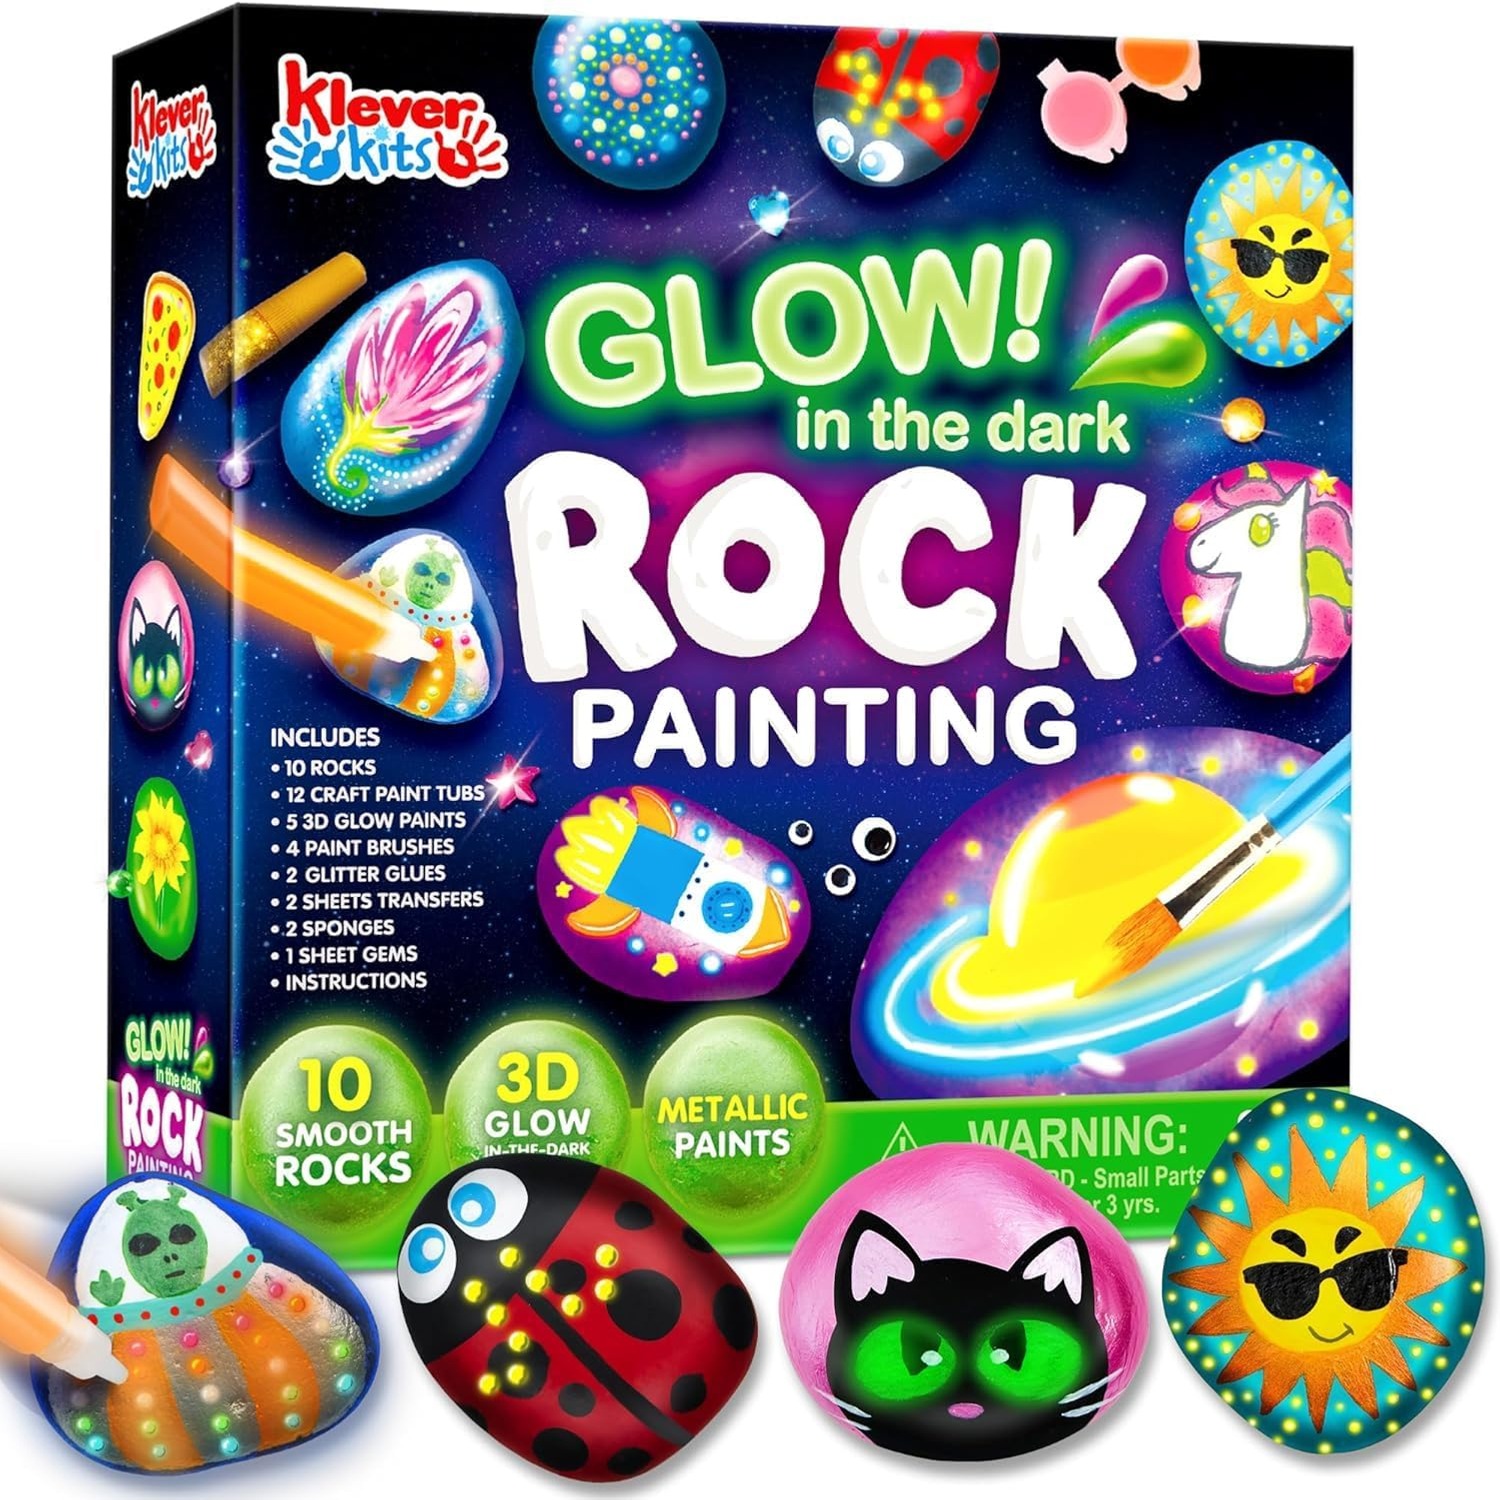
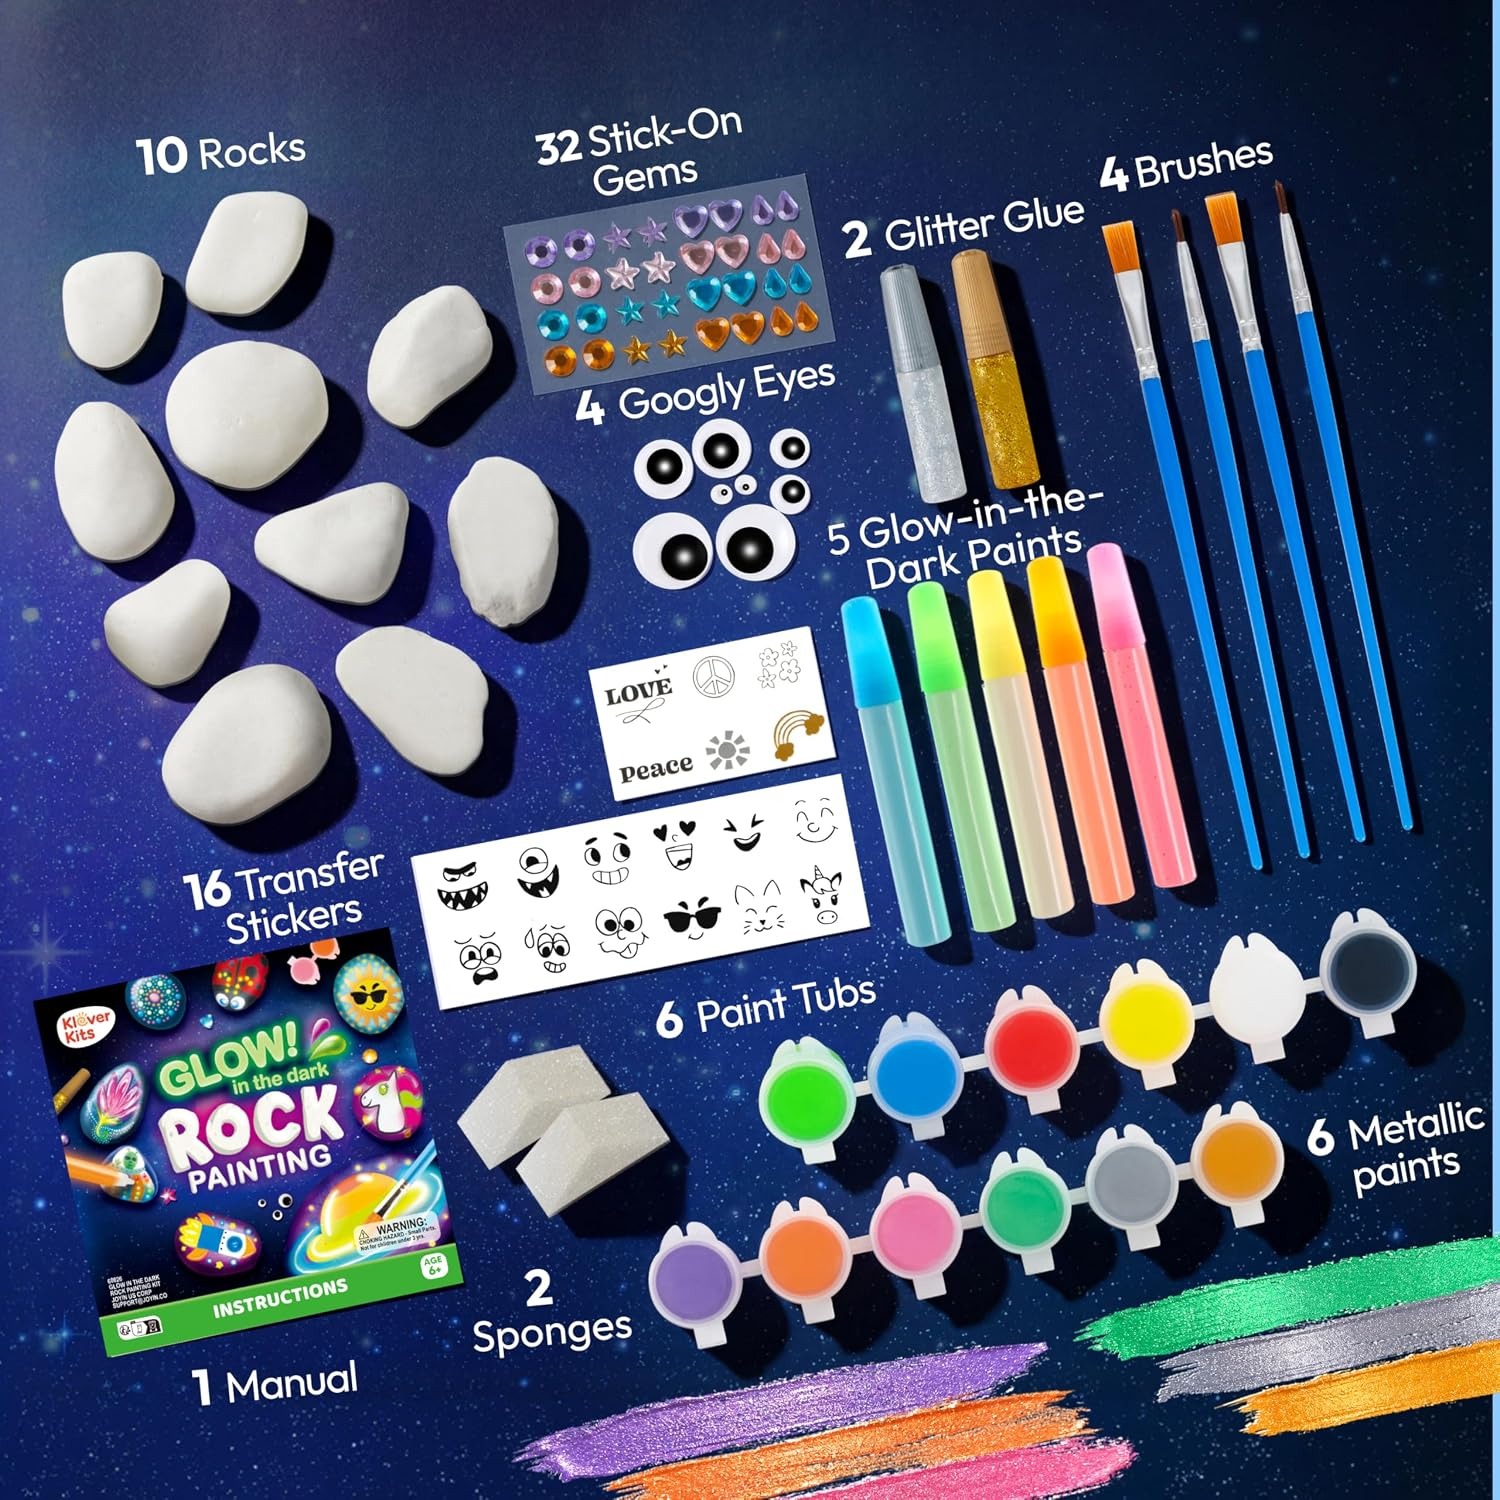
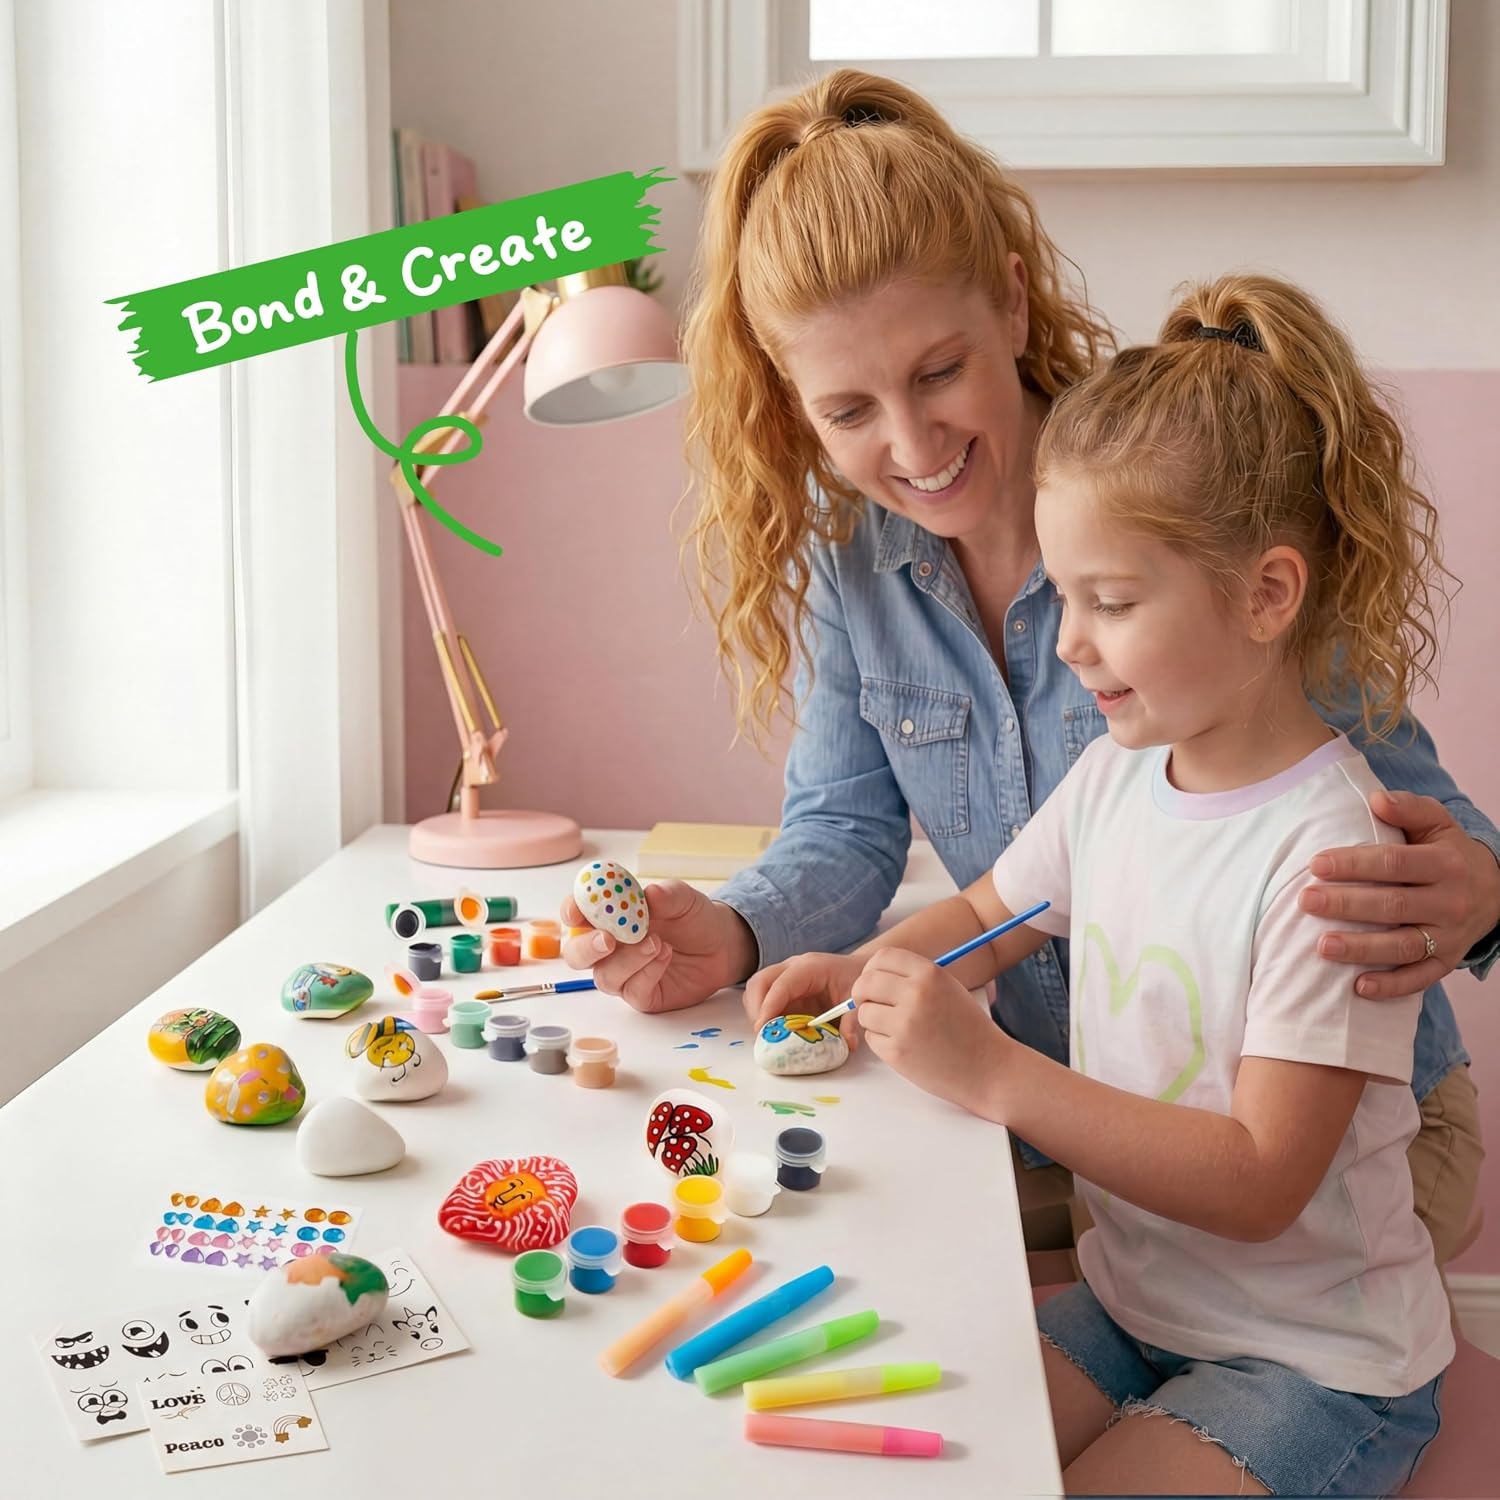
The set has 44 pieces. That includes paintable stones, standard color paints, metallic paints, glow-in-the-dark paints, brushes in more than one size, and transfer stickers. The box itself is small, roughly 7 by 6.6 by 2 inches, and the whole thing weighs about 16 ounces.
The three paint types do different jobs. Standard colors cover the stone and form the background. Metallic paints give you highlights and outlines that catch the light during the day. Glow paints sit on top and do nothing much until the room goes dark. Used together, a single rock can look like two completely different designs depending on the lighting, which is a nice surprise for a child who has only ever used ordinary poster paint.
The brushes matter more than people expect. A fine tip lets a child paint eyes, whiskers, stars or a name without the paint spreading everywhere. A wider brush covers a whole stone in a few strokes, which keeps the boring base coat stage short. Mismatched brush sizes are a common reason kids give up halfway, so having both in one kit is a genuine practical win.
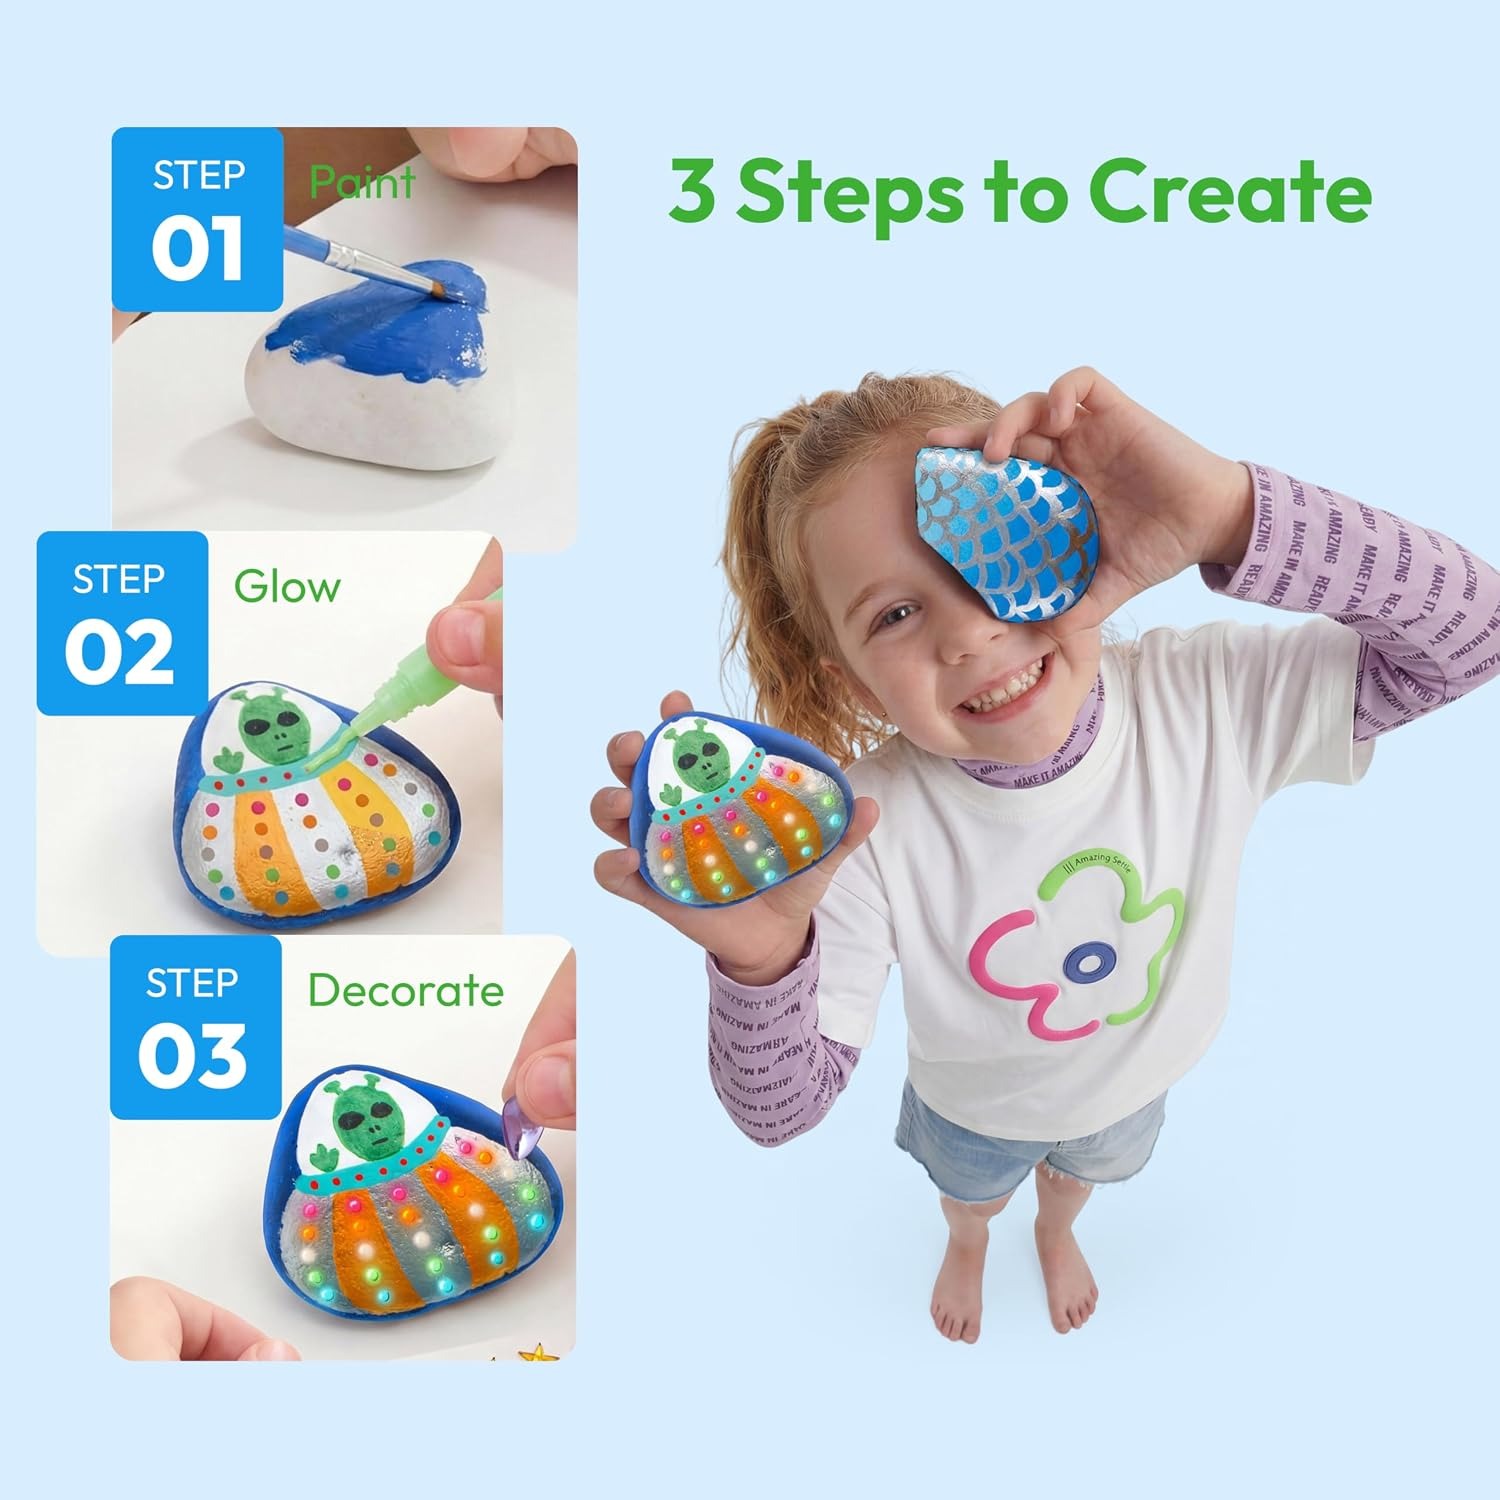
Transfer stickers round it out. Press one onto the rock, rub the back, lift it away and the design is there. For a child who is not confident freehand, this is a gentle starting point. They can do a sticker design first, see a finished rock they are proud of, then try painting the next one themselves.
How the glow actually works
This is worth explaining to children before the first session, because expectations cause most of the disappointment.
Glow paint stores light and releases it slowly. It is not a battery and it is not magic. If the paint has not been exposed to light, there is nothing stored and nothing to release. The practical rule is to hold the finished rock close to a bright light for fifteen to thirty seconds, then take it into a dark space. Longer exposure stores more light, which means a brighter glow that lasts longer.
A few habits make a real difference. Apply the glow paint in a reasonably thick layer rather than a thin wash, because more paint means more glow. Put glow paint over light colors rather than dark ones where you can. Let it dry properly before charging, since damp paint behaves oddly. And charge in a genuinely bright spot, not a dim corner lamp.
Daylight works too. Leaving the rocks on a sunny windowsill all afternoon means they are fully charged by bedtime, which is when most children want to see them anyway.
Who this suits
The age range is listed simply as kid, and in practice this sits comfortably with primary school ages. Around six and up, most children can manage the whole process with light supervision. Younger than that, an adult will be doing more of the brush rinsing and paint pouring, but a four or five year old can still enjoy slapping color onto a stone and watching it glow later.
It works for children who like detail and children who do not. A patient child will spend forty minutes on a single rock with three paint types and a fine brush. A less patient child will cover a stone in one color, add a glow splodge, and be perfectly happy. Both outcomes are fine, and the kit does not force either style.
It also suits adults who want a hands on activity that is not a screen. Rock painting is one of the best screen free activities precisely because it has a physical result at the end. You can hold it, give it away or put it in the garden.
How to choose and what to compare
If you are weighing this up against other kits, a few things are worth checking.
Count the useful pieces rather than the headline number. A kit that lists a high piece count but counts each sticker separately is not the same as one with a good spread of rocks and paints. Here the 44 pieces cover rocks, three types of paint, brushes and stickers, which is a reasonable mix for home use.
Look at whether brushes are included and how many sizes. Plenty of cheaper sets include one brush that is too fat for detail. Two sizes is the minimum for an enjoyable session.
Think about group size. One kit is sized for a child or two sharing. For a party table or a classroom, buy more than one so everyone gets enough stones. Splitting a single set between six children leads to one rock each and a short activity.
Finally, consider whether you want to seal the finished rocks. Craft paint is not weatherproof. If the plan is to leave painted rocks along a garden path or hide them in a park, pick up a clear outdoor sealer separately. For indoor display, no sealer is needed.
Looking after the kit and the rocks
Paint pots dry out if they are left open, so close them firmly at the end of each session. Store the box somewhere cool and dry, away from radiators and hot cars.
Brushes need rinsing straight away in clean water. Paint that dries in the bristles ruins the fine tip permanently, which is the fastest way to lose the detail work in a kit like this. Reshape the bristles between your fingers and let them dry flat or upright.
Finished rocks should be left somewhere flat and undisturbed until fully dry. Thick glow layers take longer than you think. Once dry, dust them with a dry cloth if needed. Do not put painted rocks in a dishwasher or washing machine, and do not scrub them under a tap.
If a design goes wrong, that is not a problem. Let it dry, paint over it with a base color and start again. Stone forgives mistakes in a way paper never does.
Ideas once the first session is done
Painted rocks have a surprising number of uses. Garden markers for herbs. Paperweights. Doorstep decorations. Bedside glow stones for a child who does not like a totally dark room. Small handmade gifts for grandparents, which tend to be kept far longer than shop bought ones.
Some families hide painted rocks around local parks and footpaths for other people to find. Others build a collection on a shelf and add to it every holiday. A few use them as a simple science conversation starter, since the glow effect is an easy way into talking about how light gets stored and released.
The short version
This is a self contained rock painting kit with 44 pieces, including stones, three kinds of paint, brushes in two sizes and transfer stickers. The glow paints need a short charge under a bright light, then they shine in the dark, and longer charging gives a stronger glow.
It suits primary school ages, works for one child or two sharing, and needs nothing beyond water, a cloth and a protected table. The box is small and light, so it travels and posts easily, which makes it practical as a gift.
If you want a craft activity with a real payoff at the end rather than another half finished project in a closet, this one earns its place.